Project:
CLAi
Date:
Dec 2025 - Apr 2026
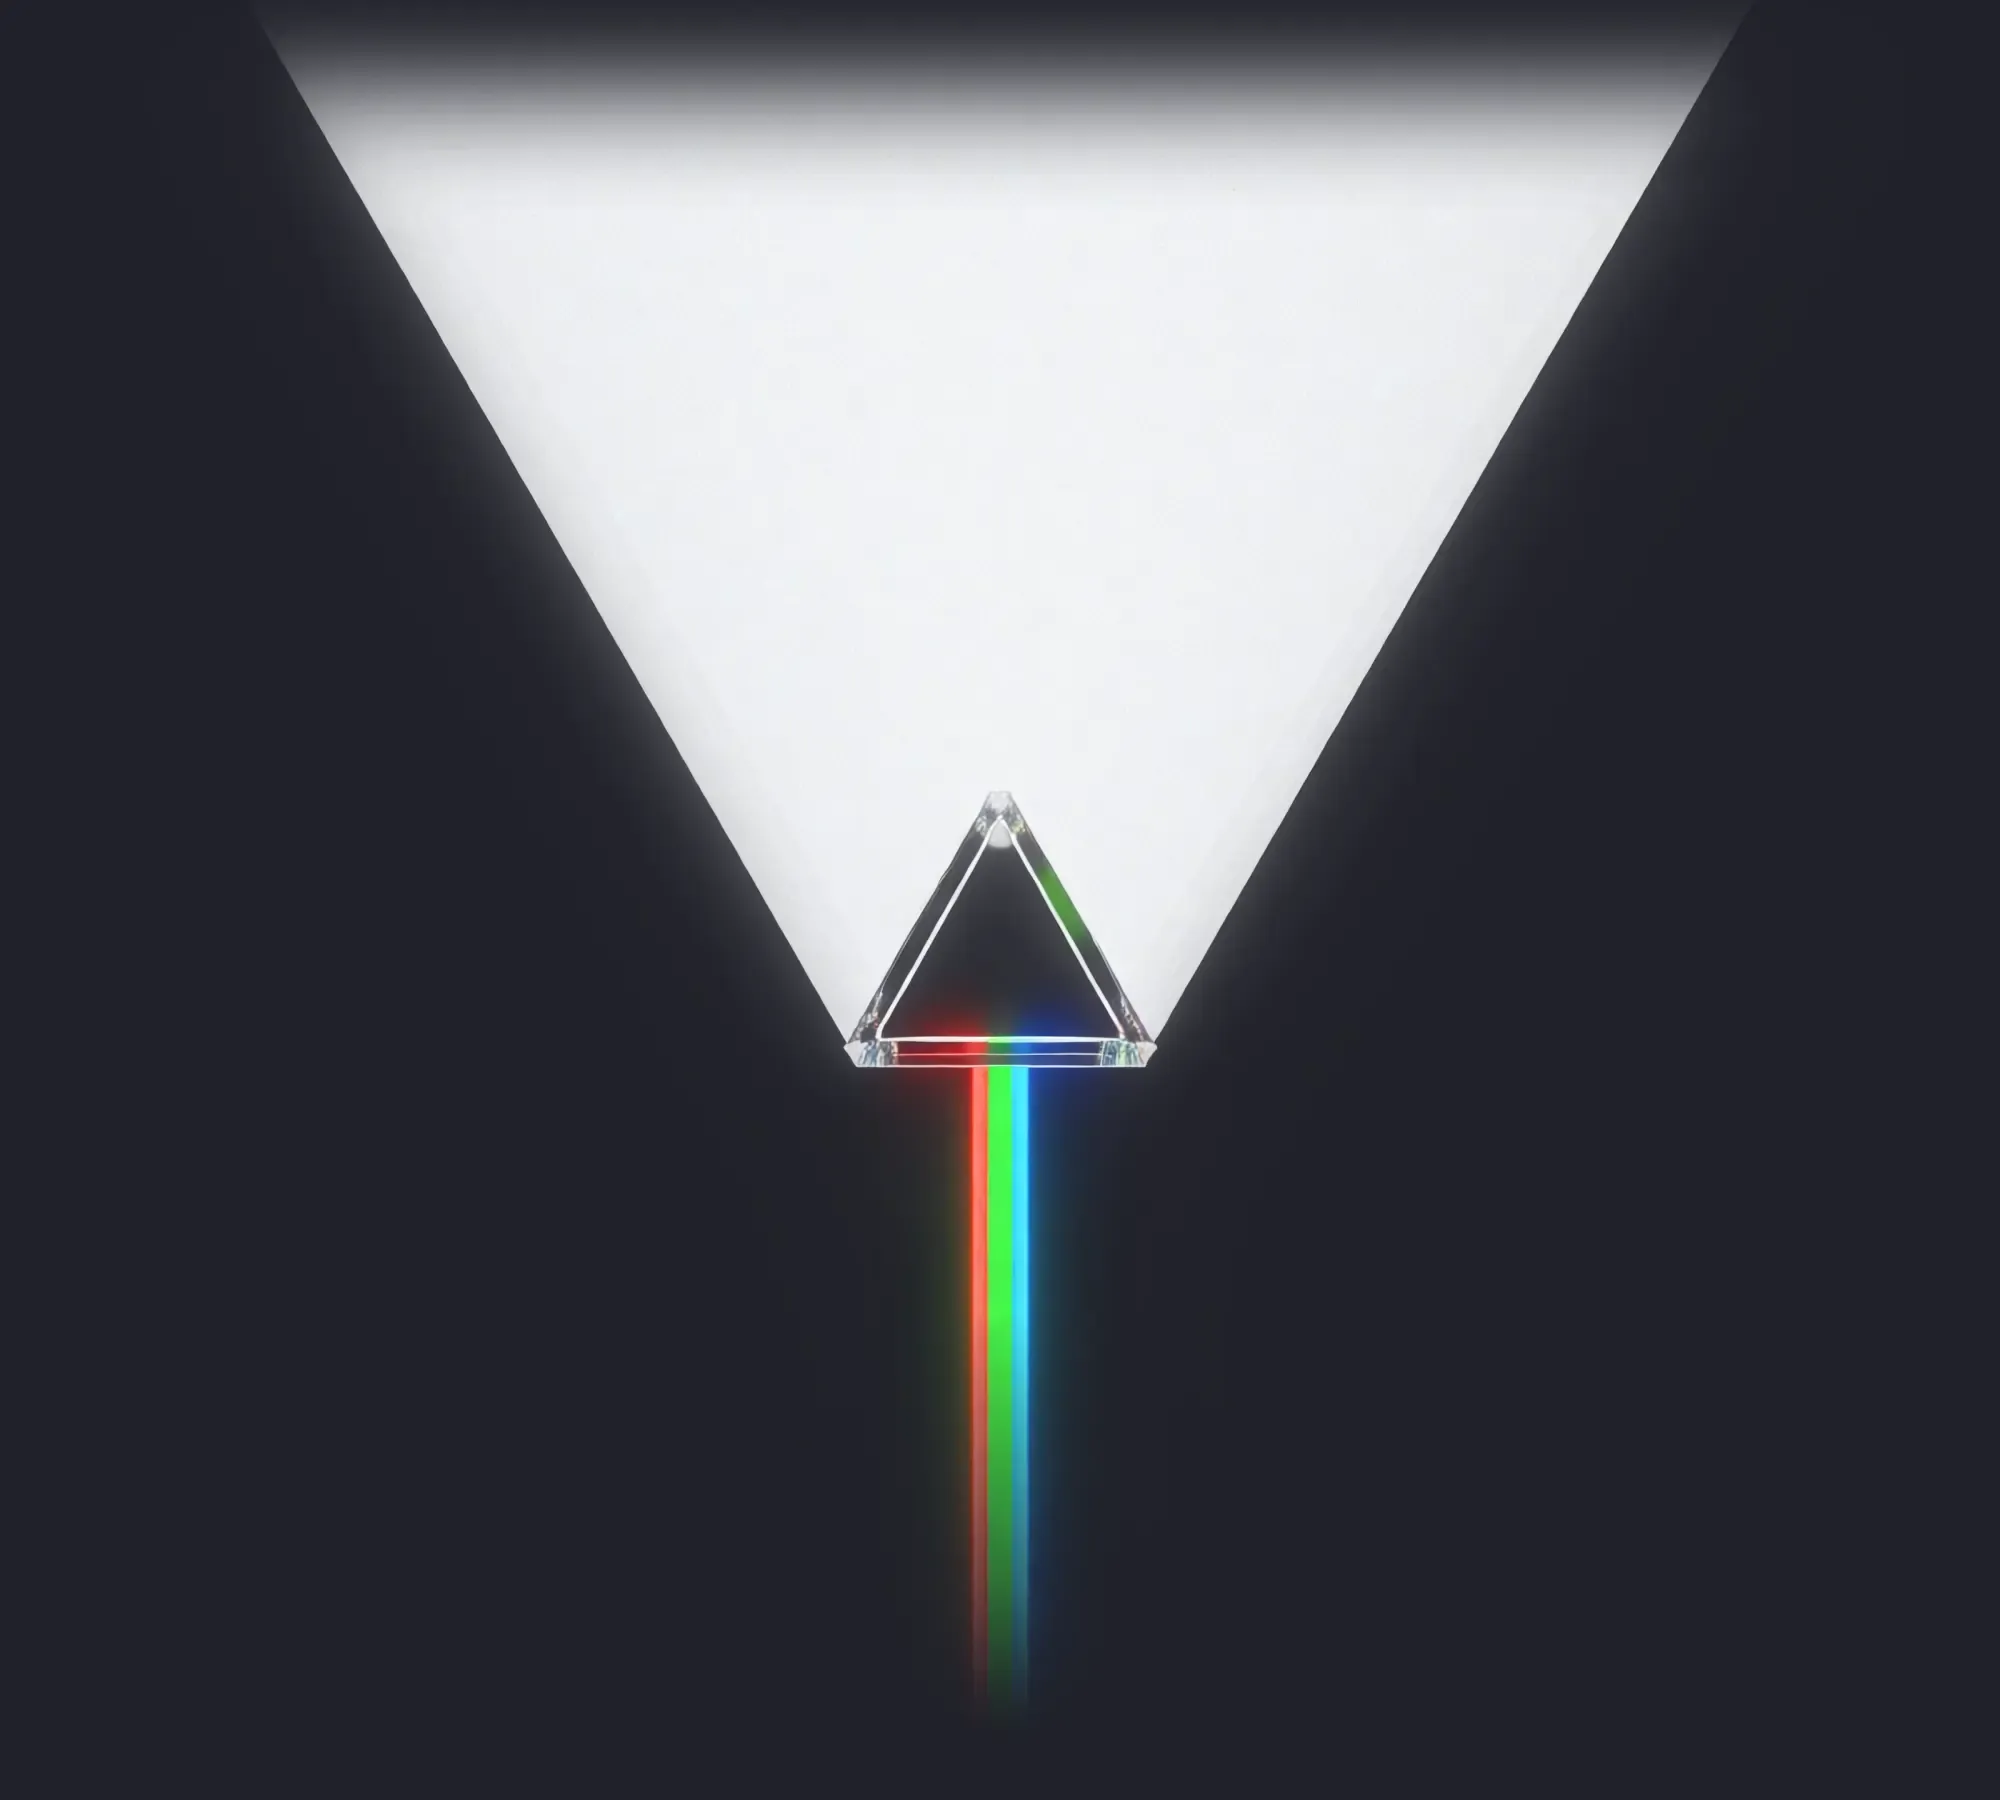
During the briefing, where we discussed a new landing page design with the customer, specifically - what kind of visual to put into the hero area, he noted that the product essentially gathers chaotic information and transforms it into easily understandable revenue streams. Thinking about possible representations of this idea one of them seemed to be fitting the most: a glass prism that transforms noisy cone-shaped white light into three colored beams - red green and blue. Sort of like that famous album cover. Idea, which the customer liked right away.
In this article it is demonstrated how AI tools can be used in a controlled way to compensate for the lack of expertise in the given field.
Ideation
It is a common knowledge that modern diffusion models while providing stunning visuals oftentimes not fully align with the vision we have in our minds. That is where tools that utilize combining the img2img with a prompt come in. Where you provide an image containing some kind of color-coded map and describe what do you want to see for each colored segment in a prompt. I used Figma to lay this kind of map and QwenImage, which was the only one able to generate images from shape map that time easily available.
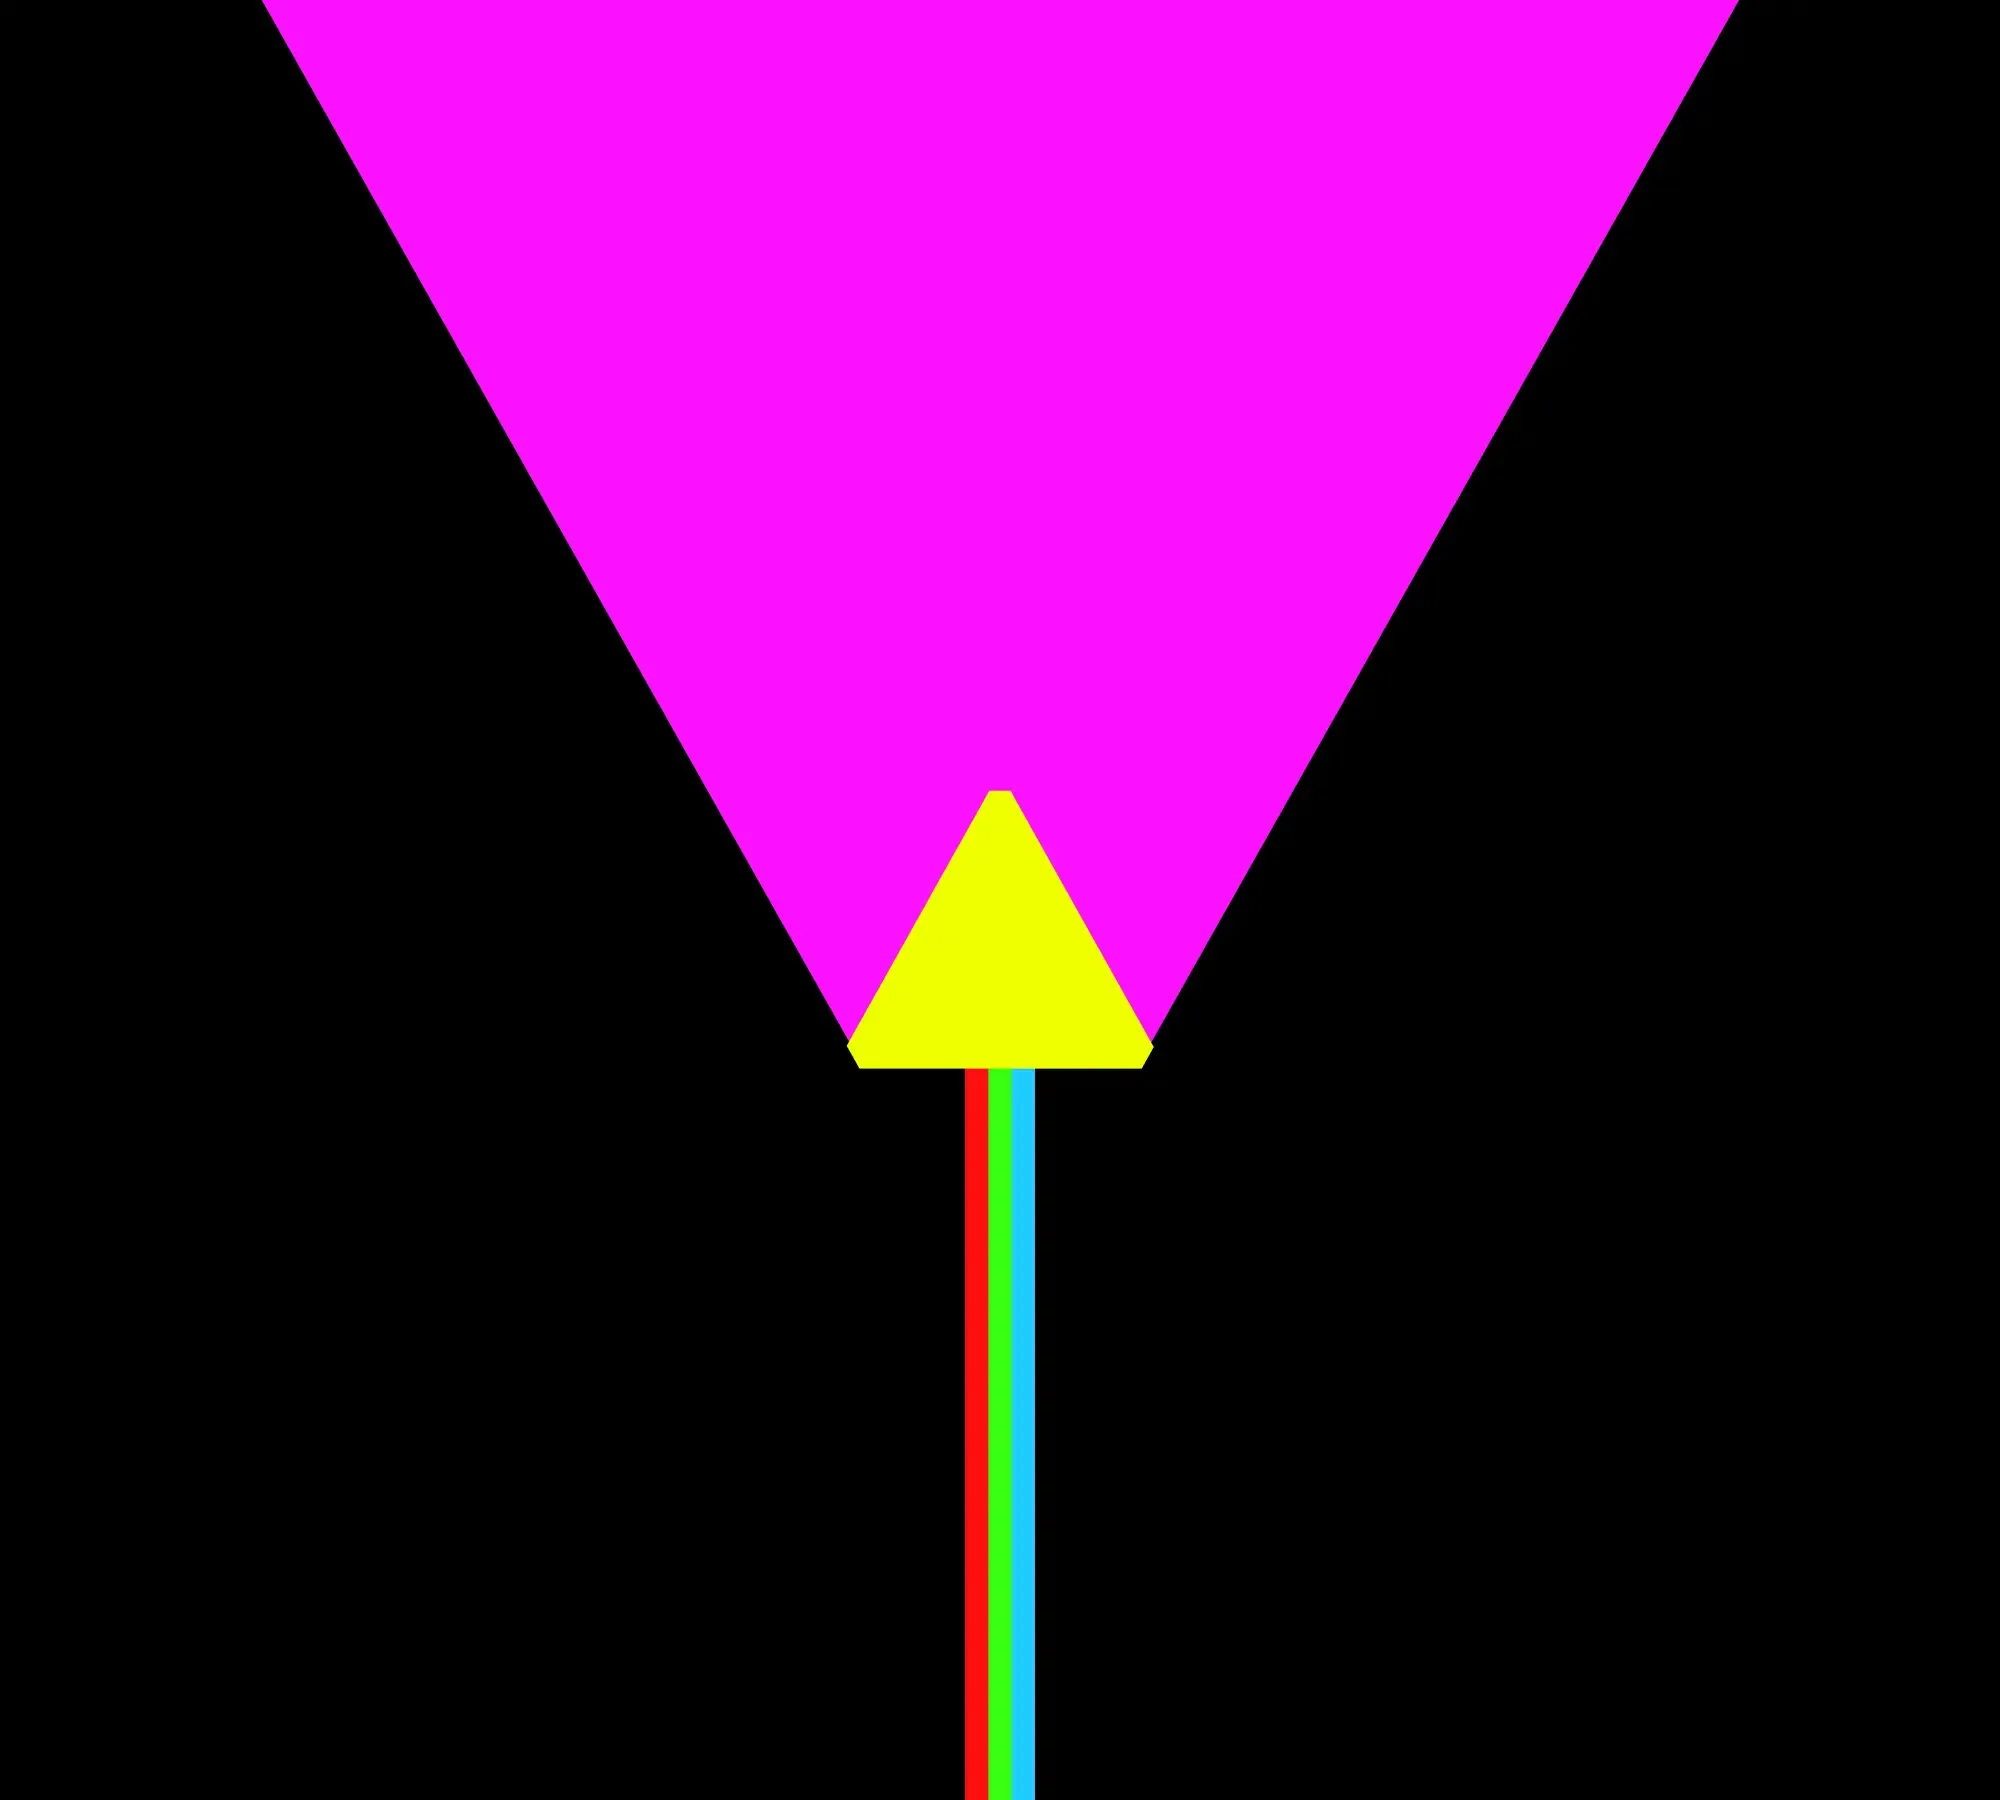
QwenImage was able to generate quite an impressive artwork, which I used as a reference to better convey the idea. After receiving a green light I moved on to the next step.
Scene Preparation
Here I am met with the same obstacle again: going to an AI tool bare-handed, with only a prompt will likely lead us to result not fully aligned with the vision. So, in order to avoid that, I decided to build some guardrails - basically model the skeleton of the scene myself using Blender.
Although 4 of the 6 objects in the scene supposed to be volumetric light scattering (aka god rays), the true volumetric lights are too computationally heavy for most systems. And since the visitors will not be viewing this website from monstrous workstations rocking some beefy RTX 6000, and the physical accuracy was never the requirement the choice was made to opt for the geometry and add some post-processing fakery on top.
As for the geometry - the WebGL based 3D renderers in most modern web-browsers can render geometry made of quads and even n-gons quite well, but still, I decided to avoid n-gons just in case and keep the number of vertices to a minumum. The resulting scene has 150 total vertices and 188 faces for 6 meshes which is quite miniscule.
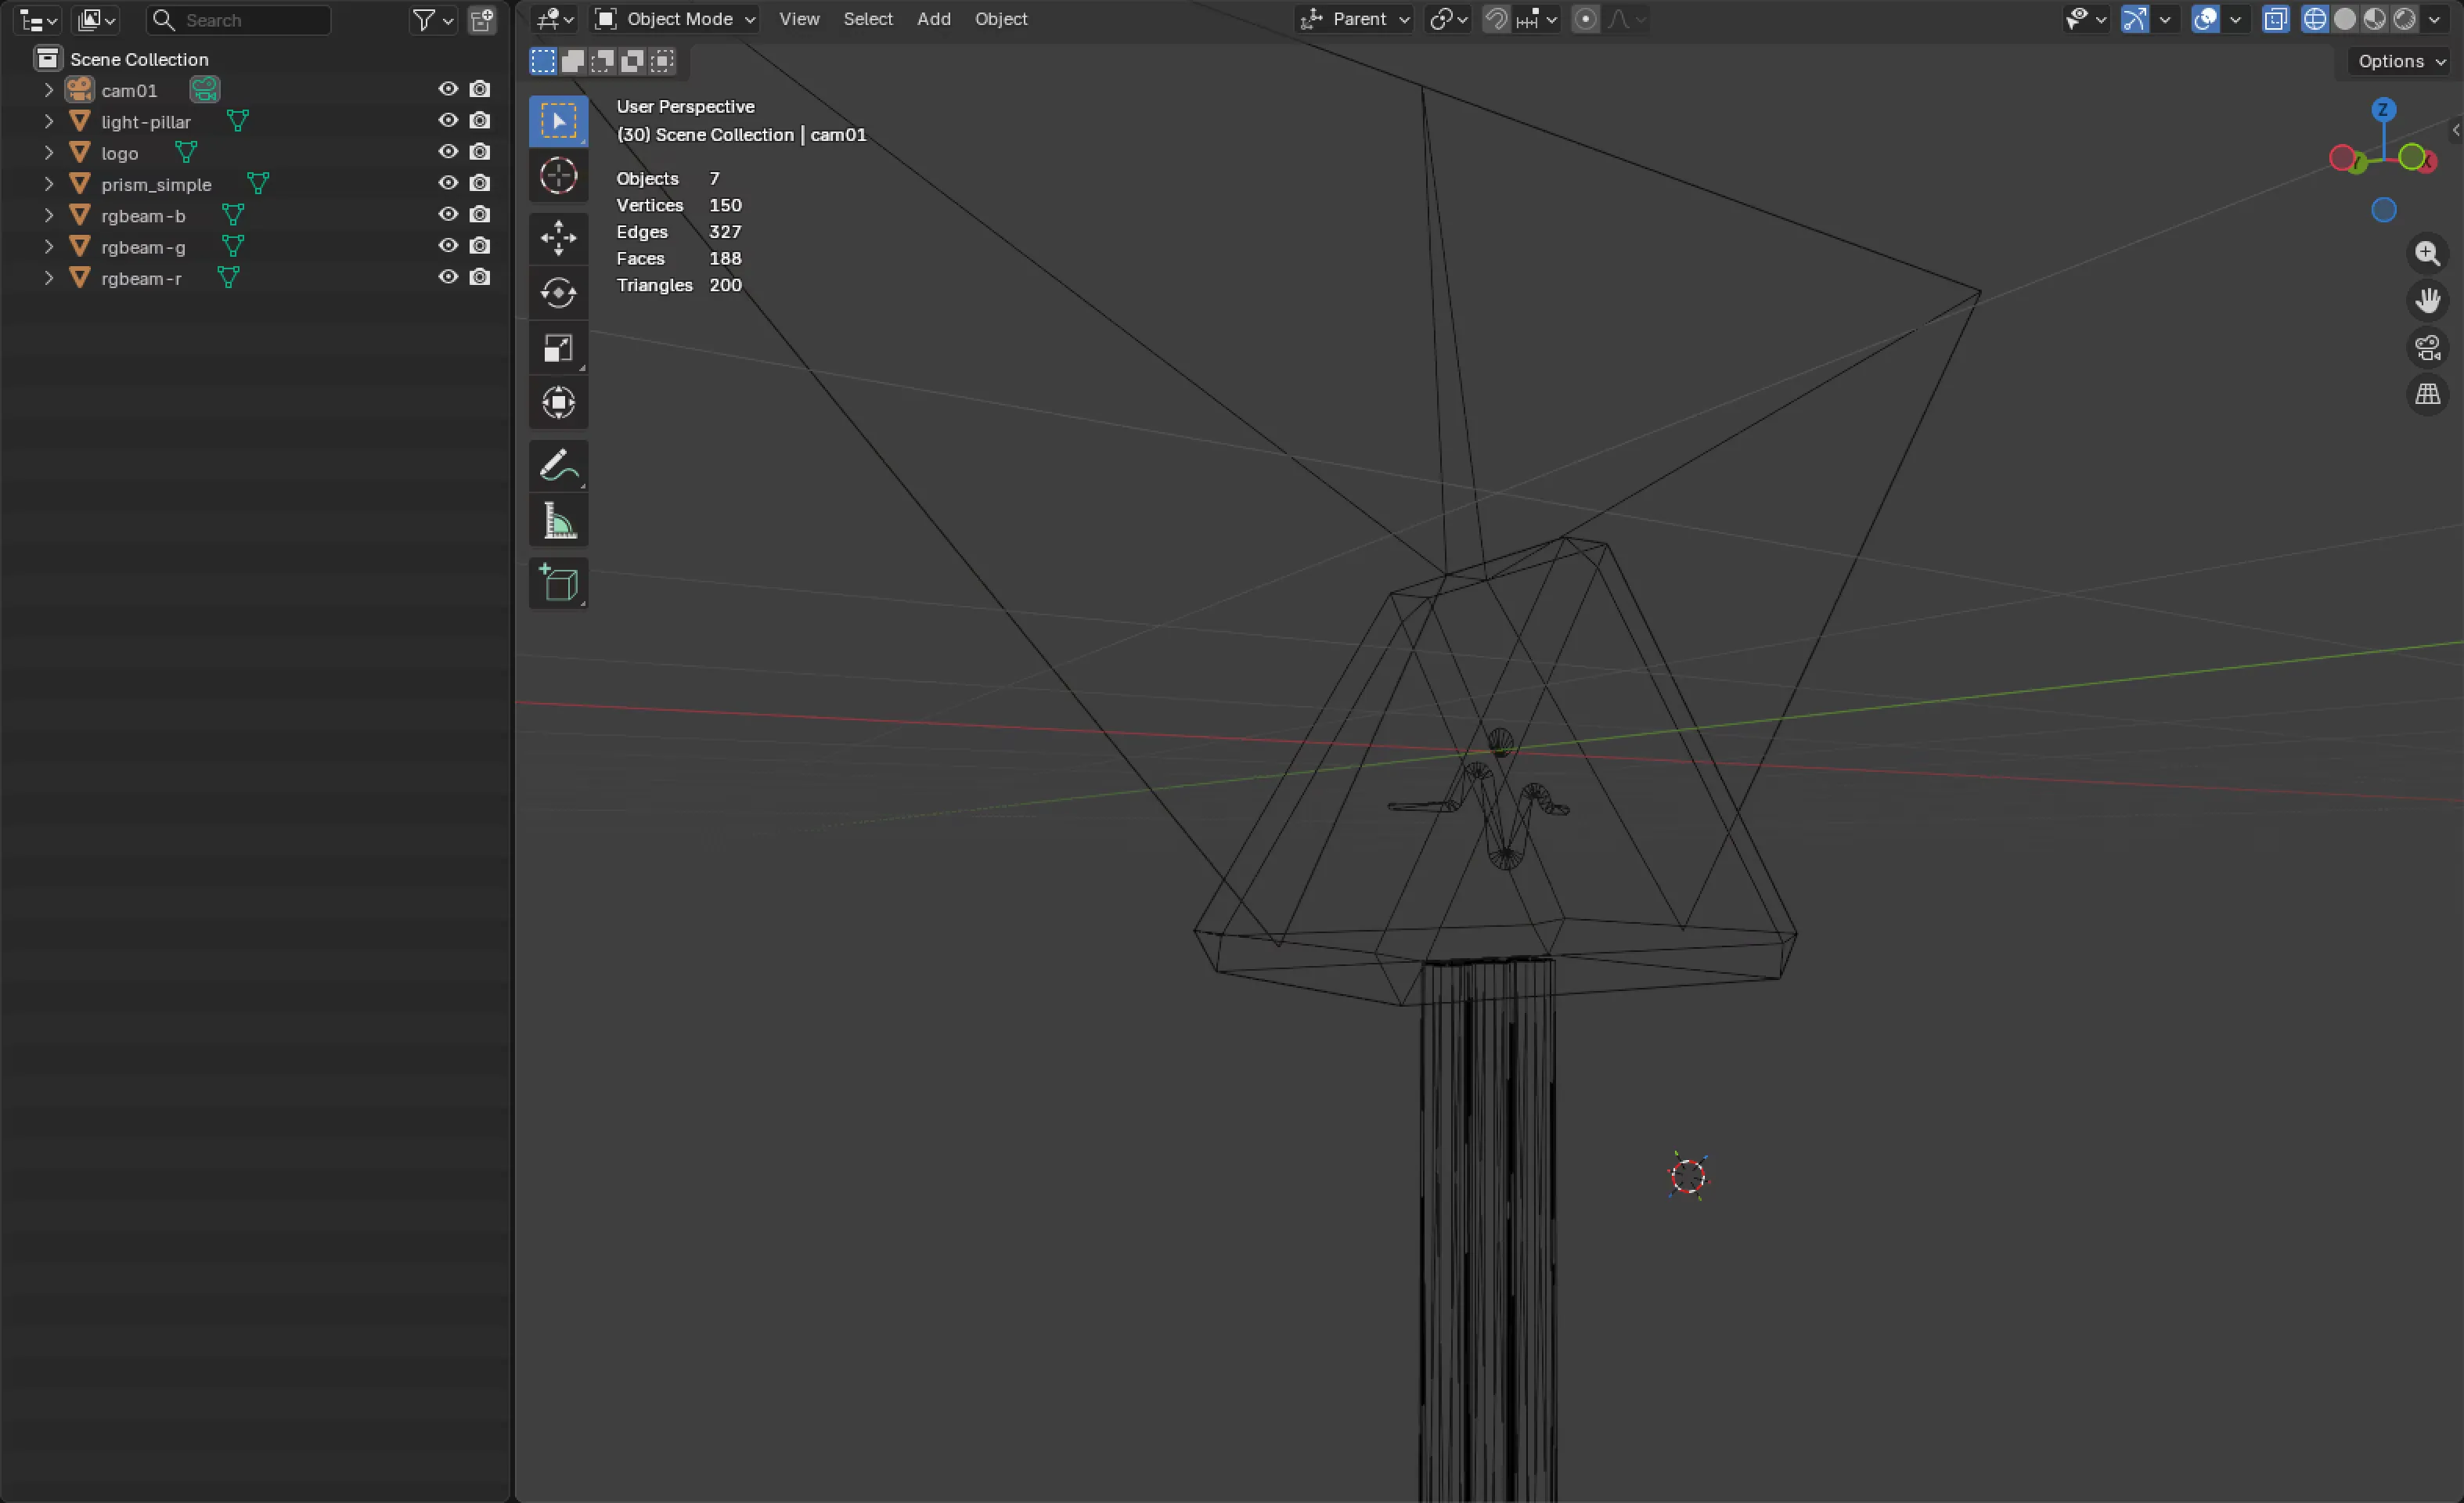
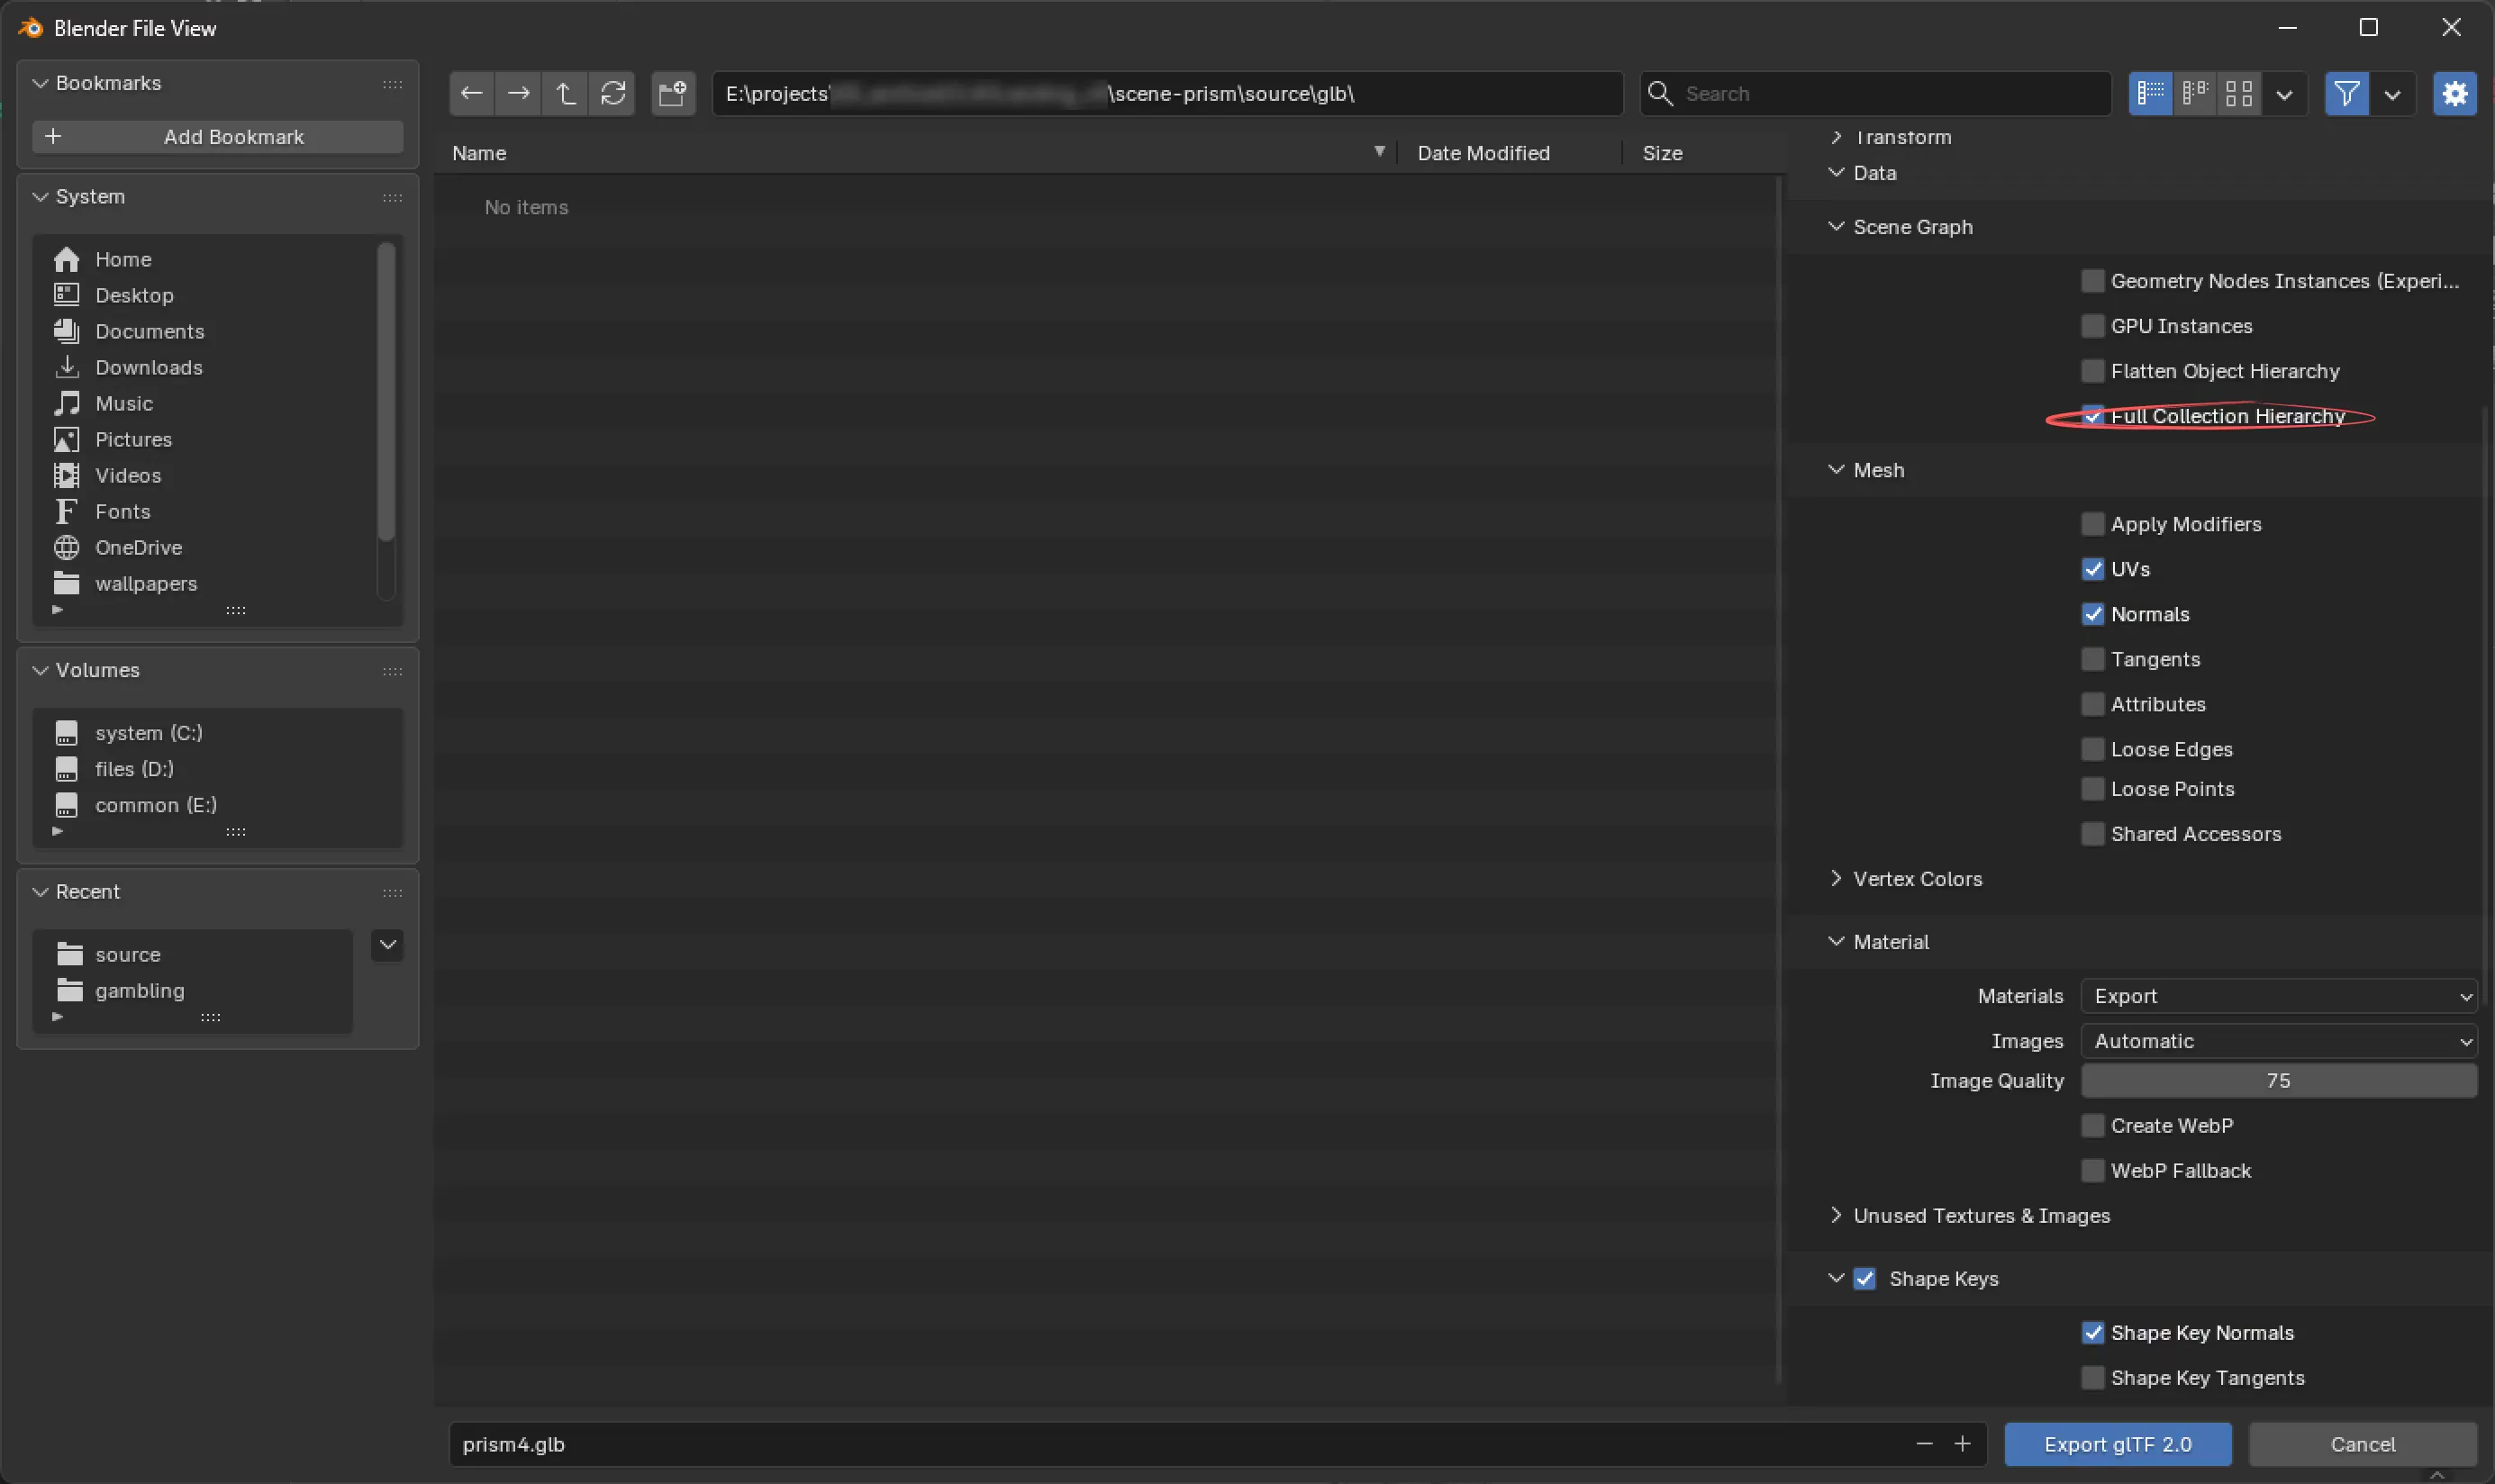
Blender supports GLTF exports out of the box. I exported the scene with inclusion of all of the meshes and preserving all the object IDs.
Next step is to create a vanilla ThreeJS project. I navigated to a folder on my computer where I wanted to place it, opened a terminal from there and executed the following command and whatever it prompted me to do.
npm create vite@latest the-prism --template vanillaNow I need to drop the .glb file I got from Blender into the /public folder and keep it there.
Asset Preparation
A 3D scene should be well lit to look stunning. Lighting could be achieved in a multitude of ways, either by using a light source objects around the meshes or by using an HDRI environment texture, or a mix of both. Blender has a wide variety of light source objects for every scenario, placing them all strategically could be time consuming, so opting out for a single environment texture is a better strategy in this case.
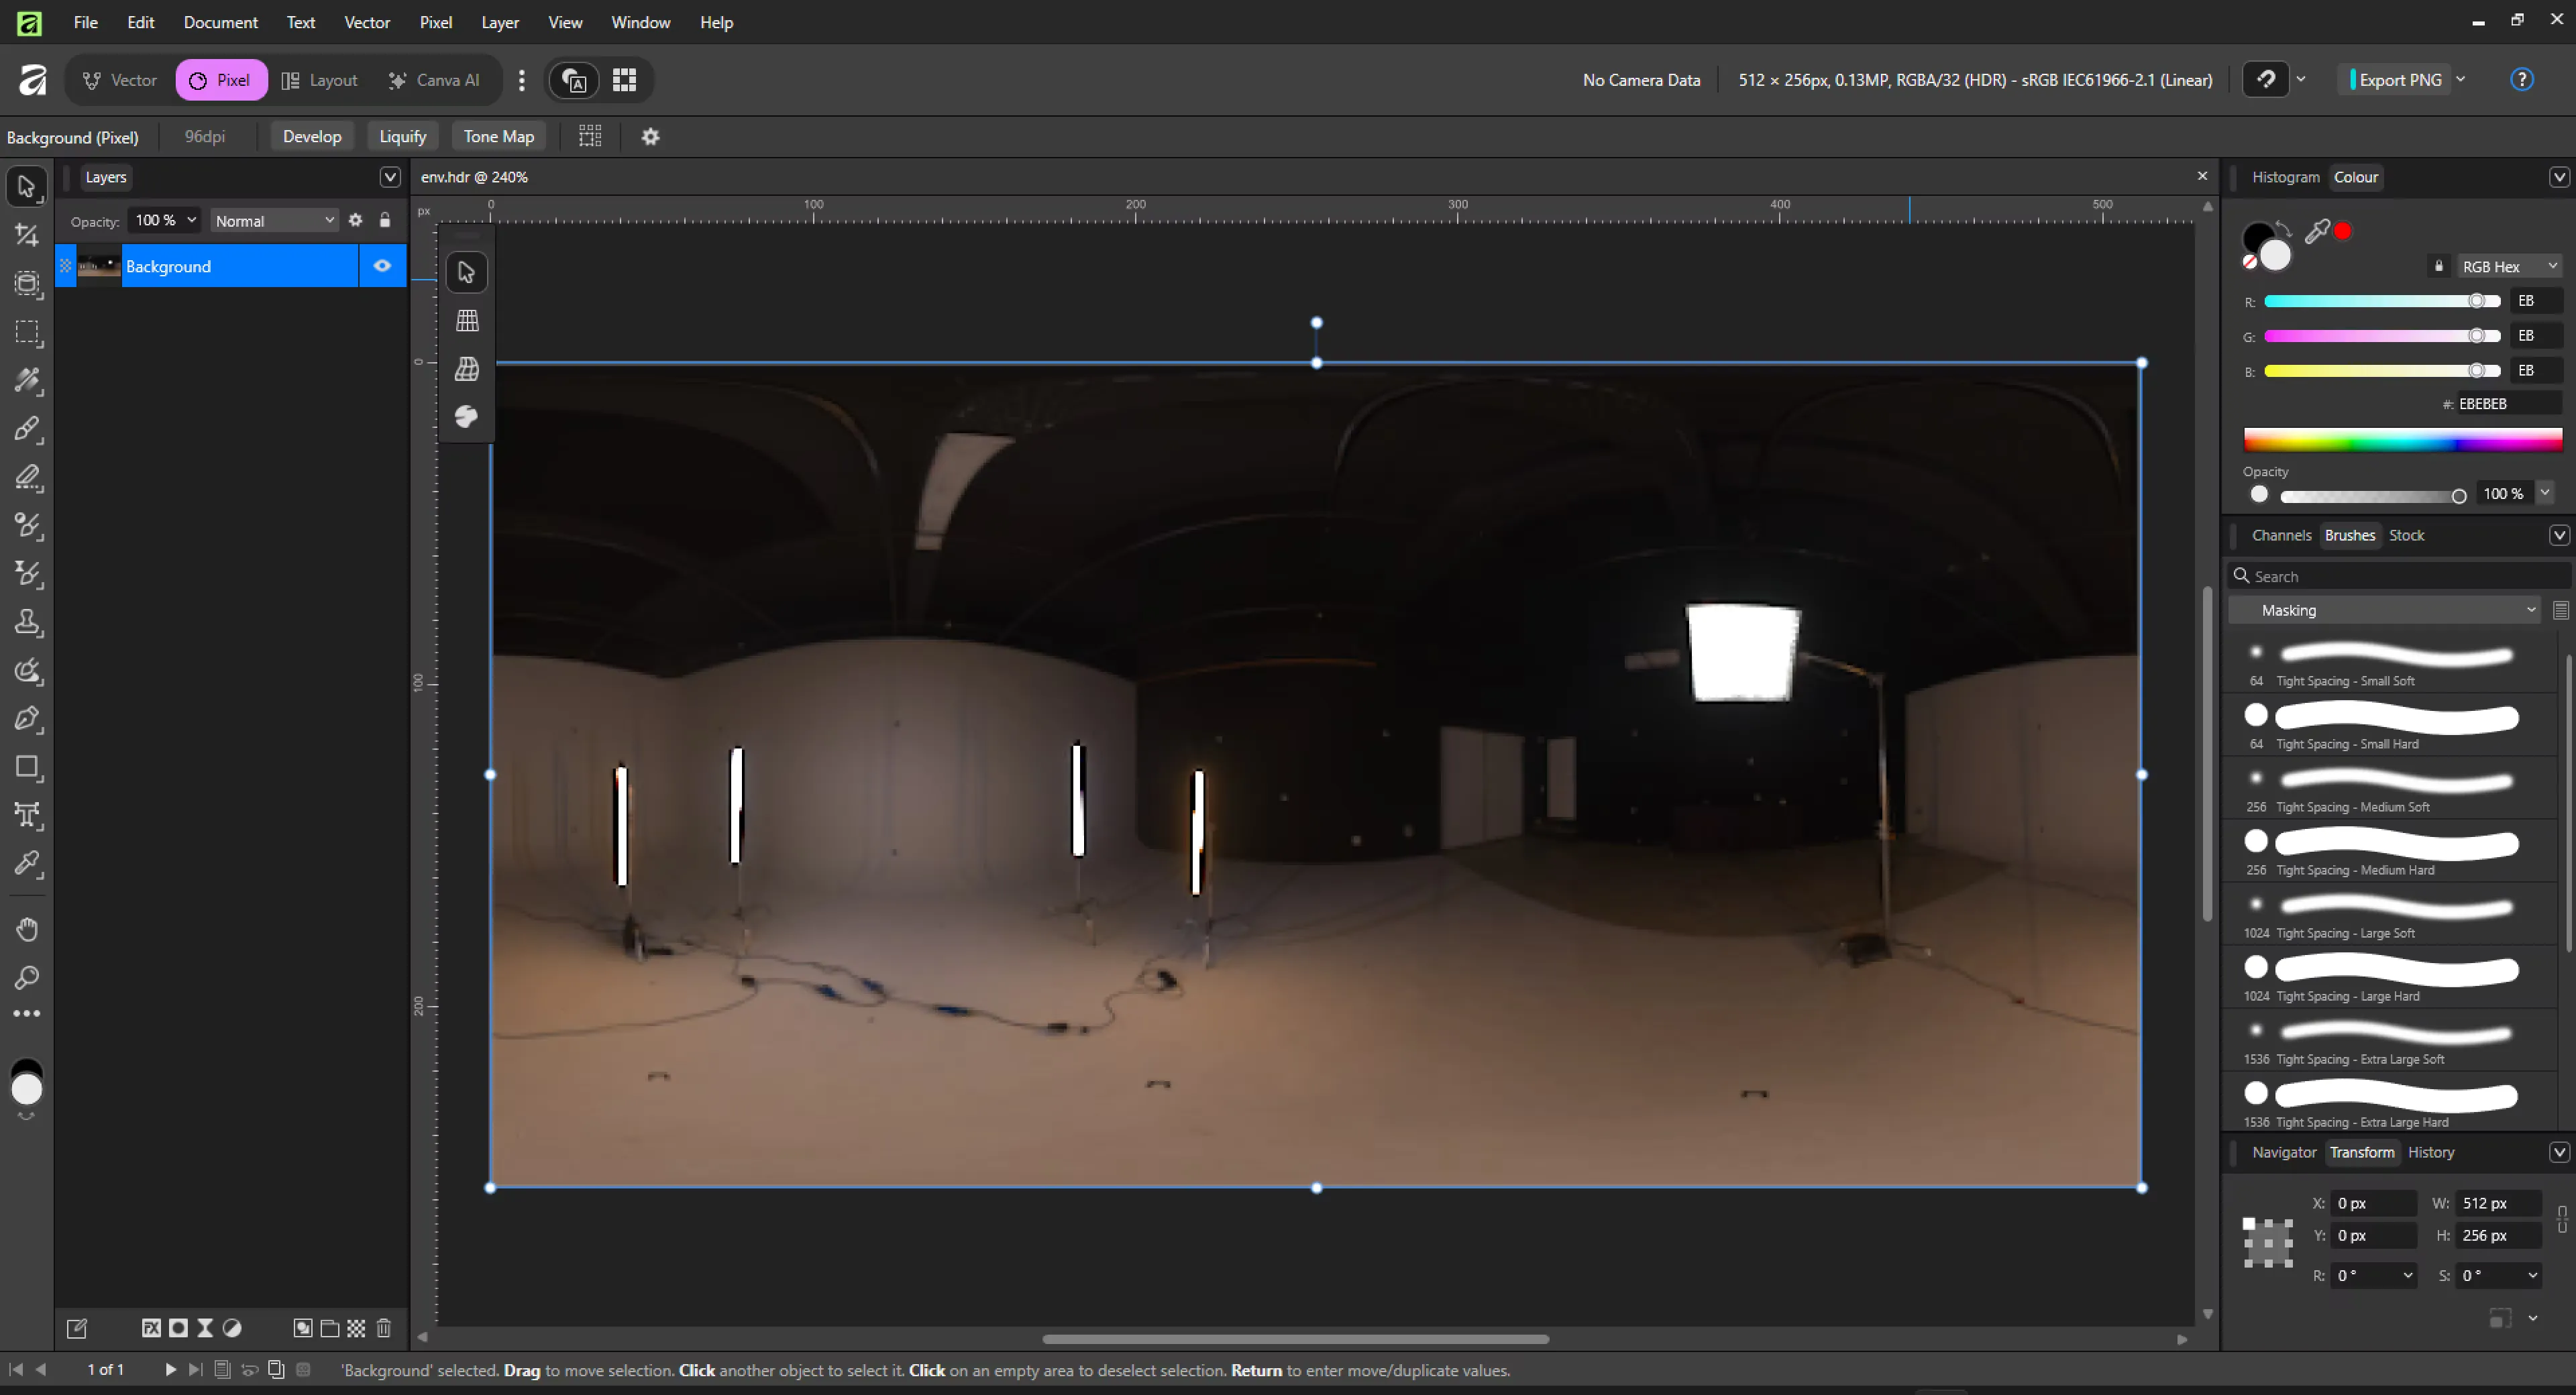
Environment HDR textures can be very heavy and “weight” in a ballpark of hundreds of megabytes sometimes, which is unacceptable for the web. However in the WebGL renderer is utilizing a plethora of smoothing techniques under the hood, so textures even at a very small resolutions won’t have that blocky pixelation artifacts. So I downloaded a map from the Polyheaven that in my opinion will match the overall color scheme of the website the most, opened it in Canva Affinity and resized proportionally to be 512 by 256 pixels and exported it. The resulted ‘env.hdr’ file is roughly 360KB which is optimal for the web.
As I’ve said before making godrays with dynamic particle noise could be very costly computationally, and since I am not aiming for physics accuracy, I decided that I will just strap a looping 3-second video of a black & white noise as a texture. To do this I asked Qwen for an ffmpeg command that generates a 3 seconds 256x256 video of black & white Gaussian noise, which he did:
ffmpeg -f lavfi -i nullsrc=s=256x256:d=6:r=24 -vf "noise=alls=100:allf=t+g, scale=512:512:flags=neighbor" -c:v libvpx-vp9 noise.webmI deliberately set ‘d=6’ for the output video to be 6 seconds long, because for whatever reason when ‘d’ set to ‘3’ or less, the underlying pattern shifts too much for the vide to be looping seamlessly. This is why I ran the second command which trims
ffmpeg -ss 00:00:01.450 -i "testnoise.webm" -t 00:00:01.800 "testnoise2.webm"And here’s how the resulting video texture looks like this:
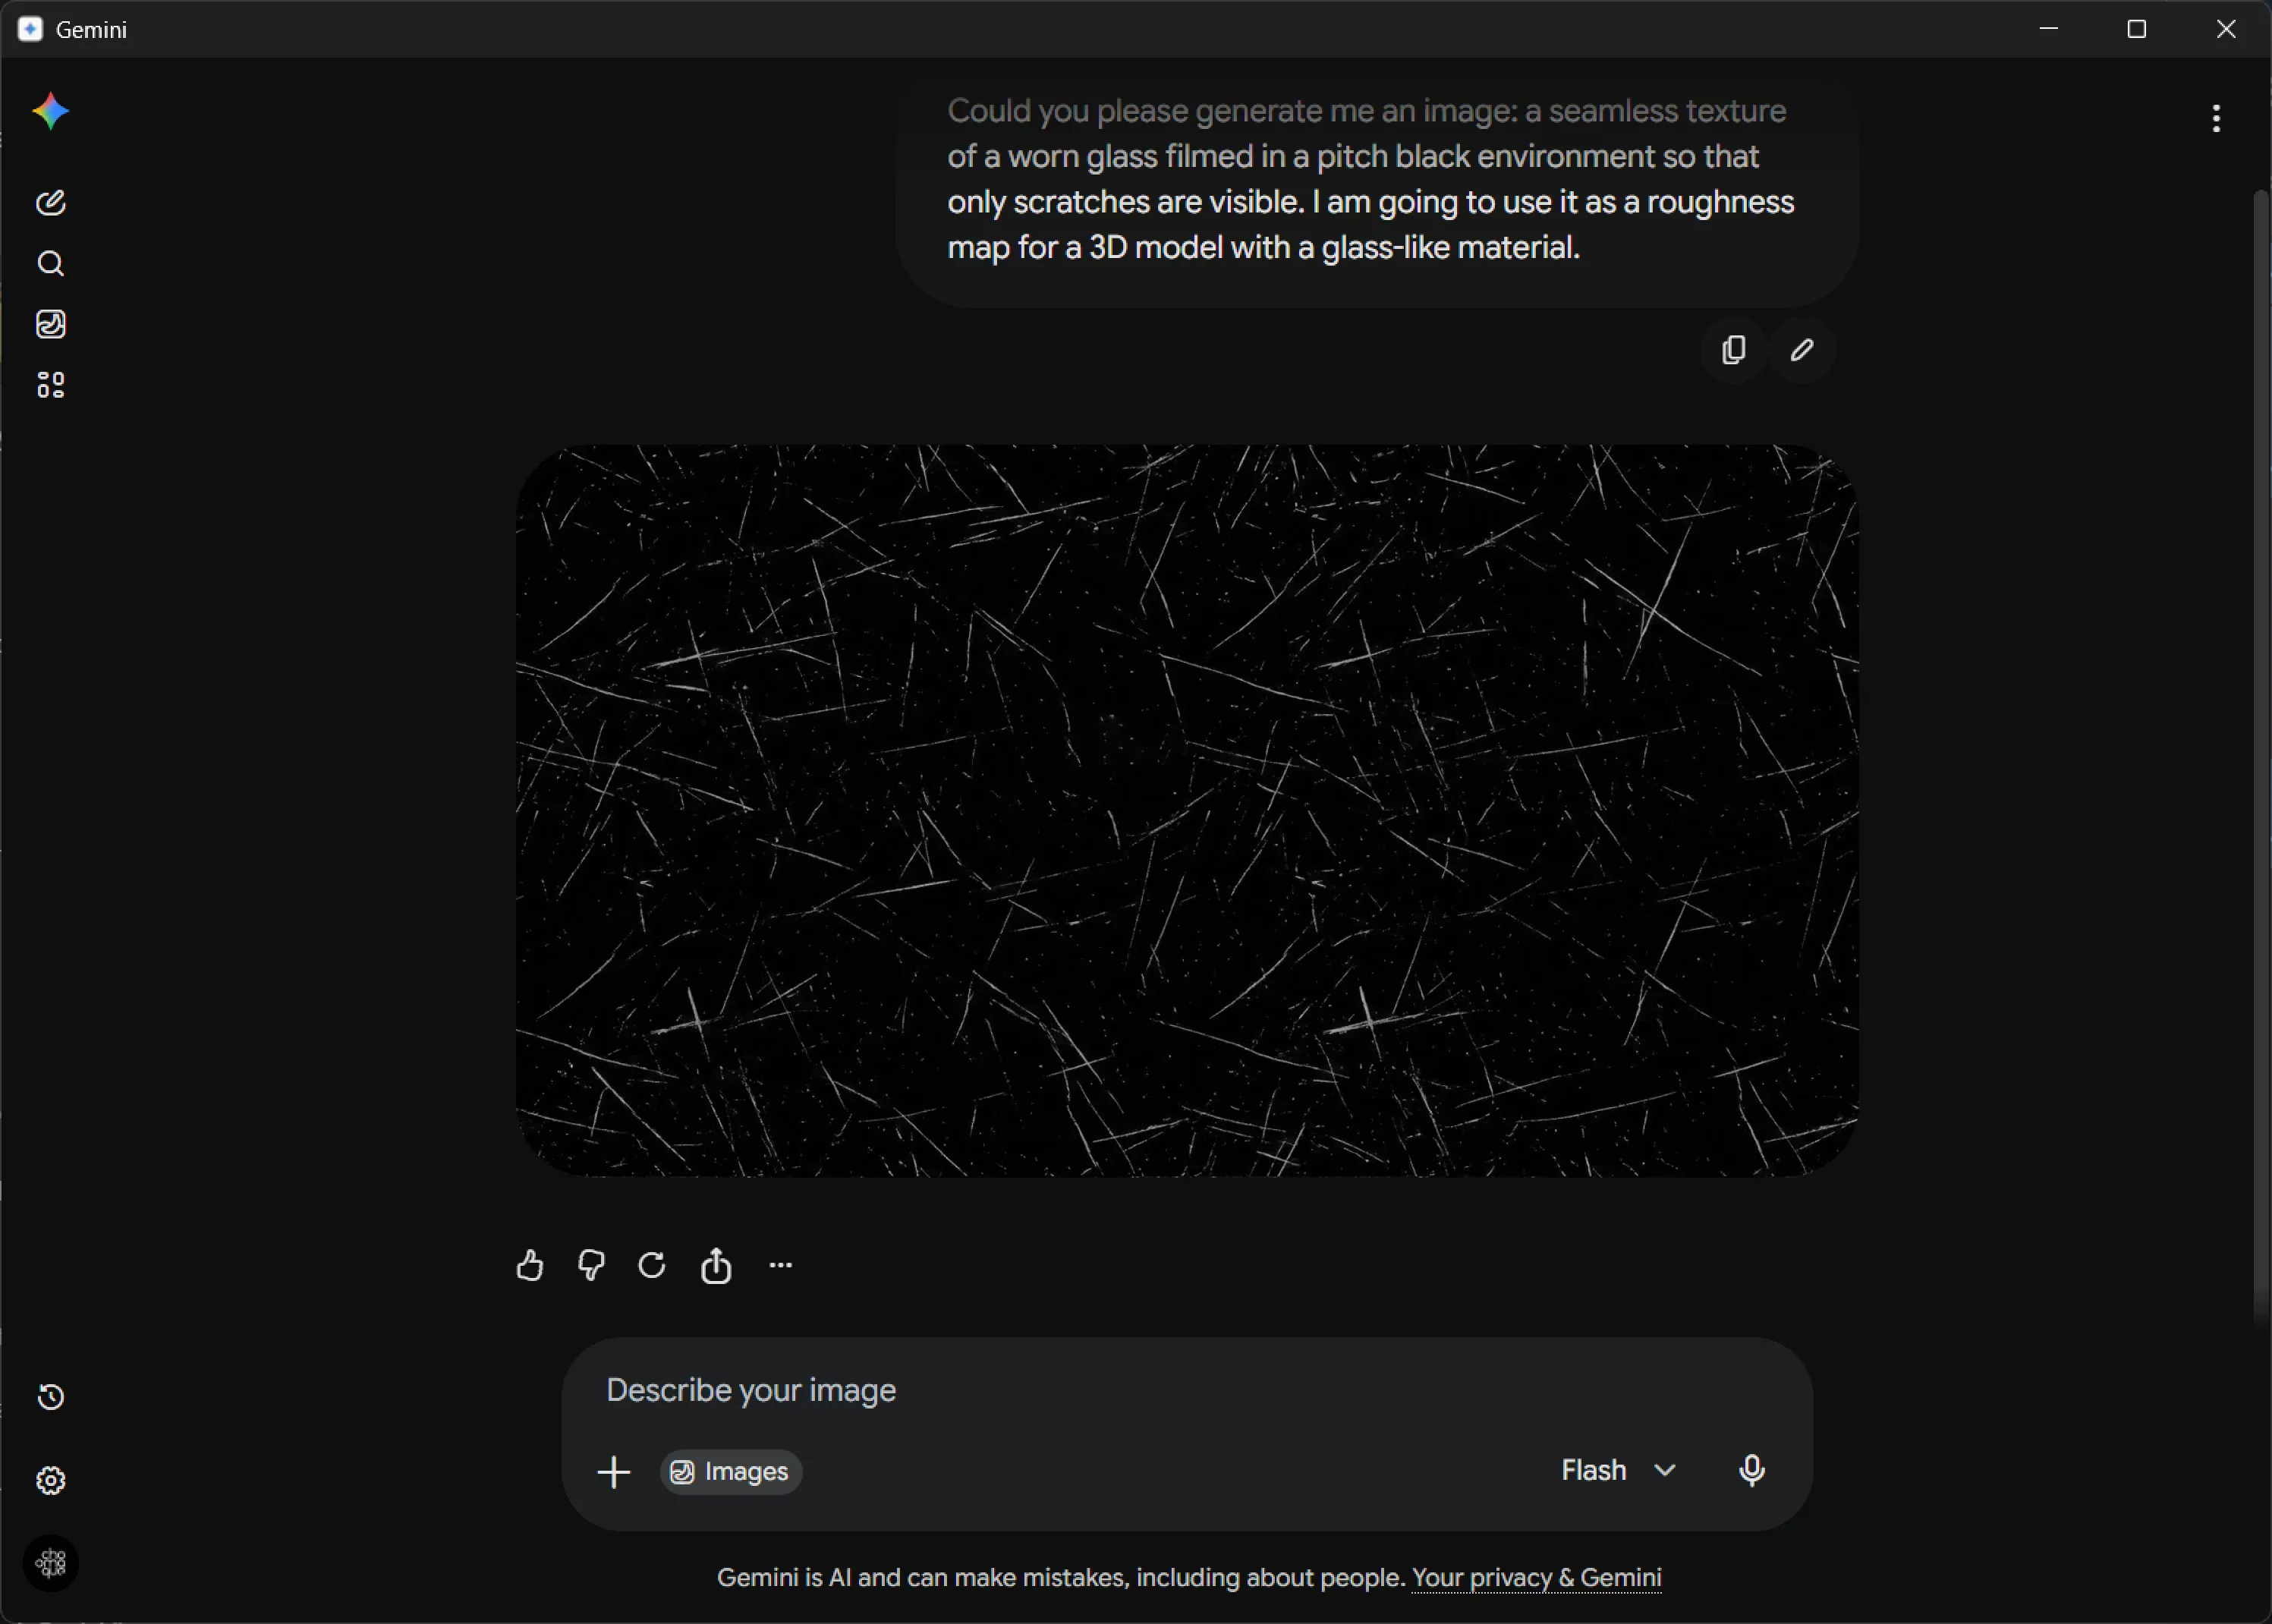
For a realistic look of the glass-like materials I needed a roughness map, a black and white image where the closer pixels are to white, the rougher the material would look in places where these pixels are met. For more convincing look, 3D artists usually look for glass photos done over a black background and dimly lit from the side so all the wear, scratches and dust particles would look highlighted. In our day anyone can just prompt a diffusion model to generate a picture just like that.
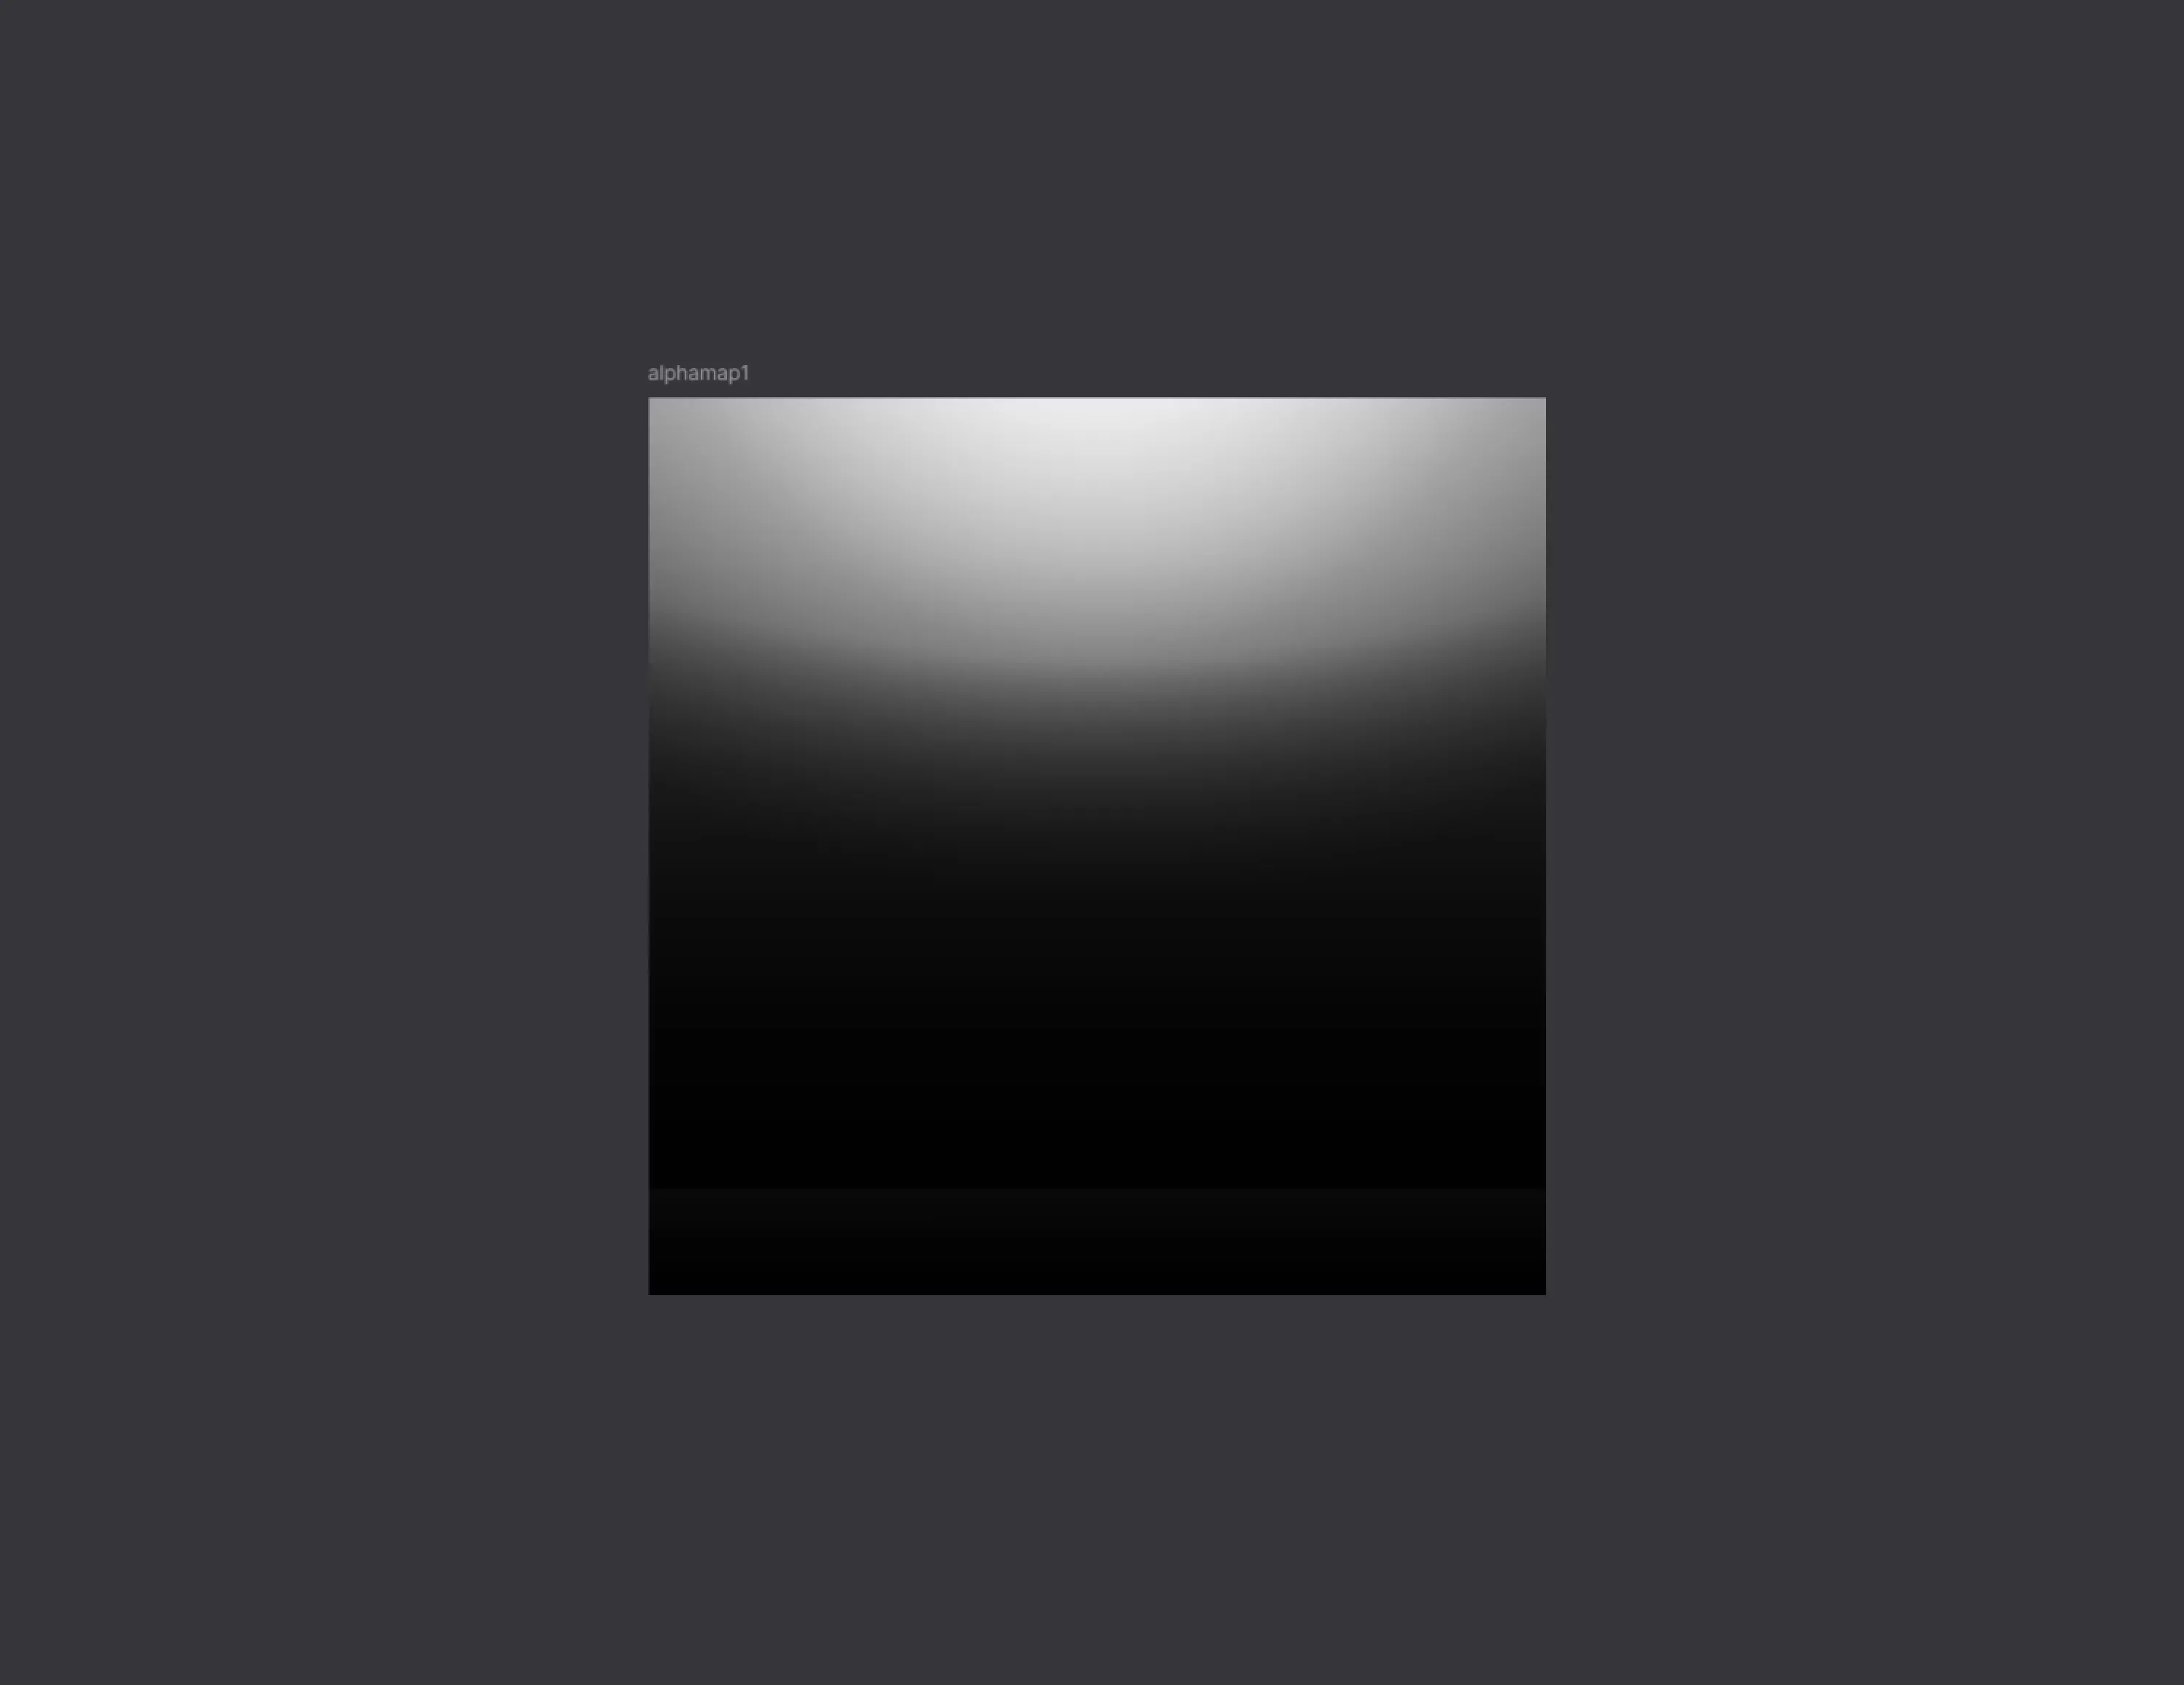
Also in the scene I need the objects representing beams of light to fade in (white triangular light) and fade out (colored beams), and the “cheapest” way to do that is to attach an alpha map - a gradient texture, which I quickly drew in Figma.
Now, after static assets got out of the way it’s time for meat and potatoes of this process.
Project Preparation
This step is pretty straightforward and short: running a project creation commands. After a quick search on how rays and lights should work in a ThreeJS scene, I learned that a lot of the time to add some kind of lighting effects, developers use the “postprocessing” library, which intercepts the rendering stream and applies 2D effects to it. So the install commands would look like this:
npm create vite@latest "the-prism"
cd "the-prism"
npm install three
npm install postprocessing
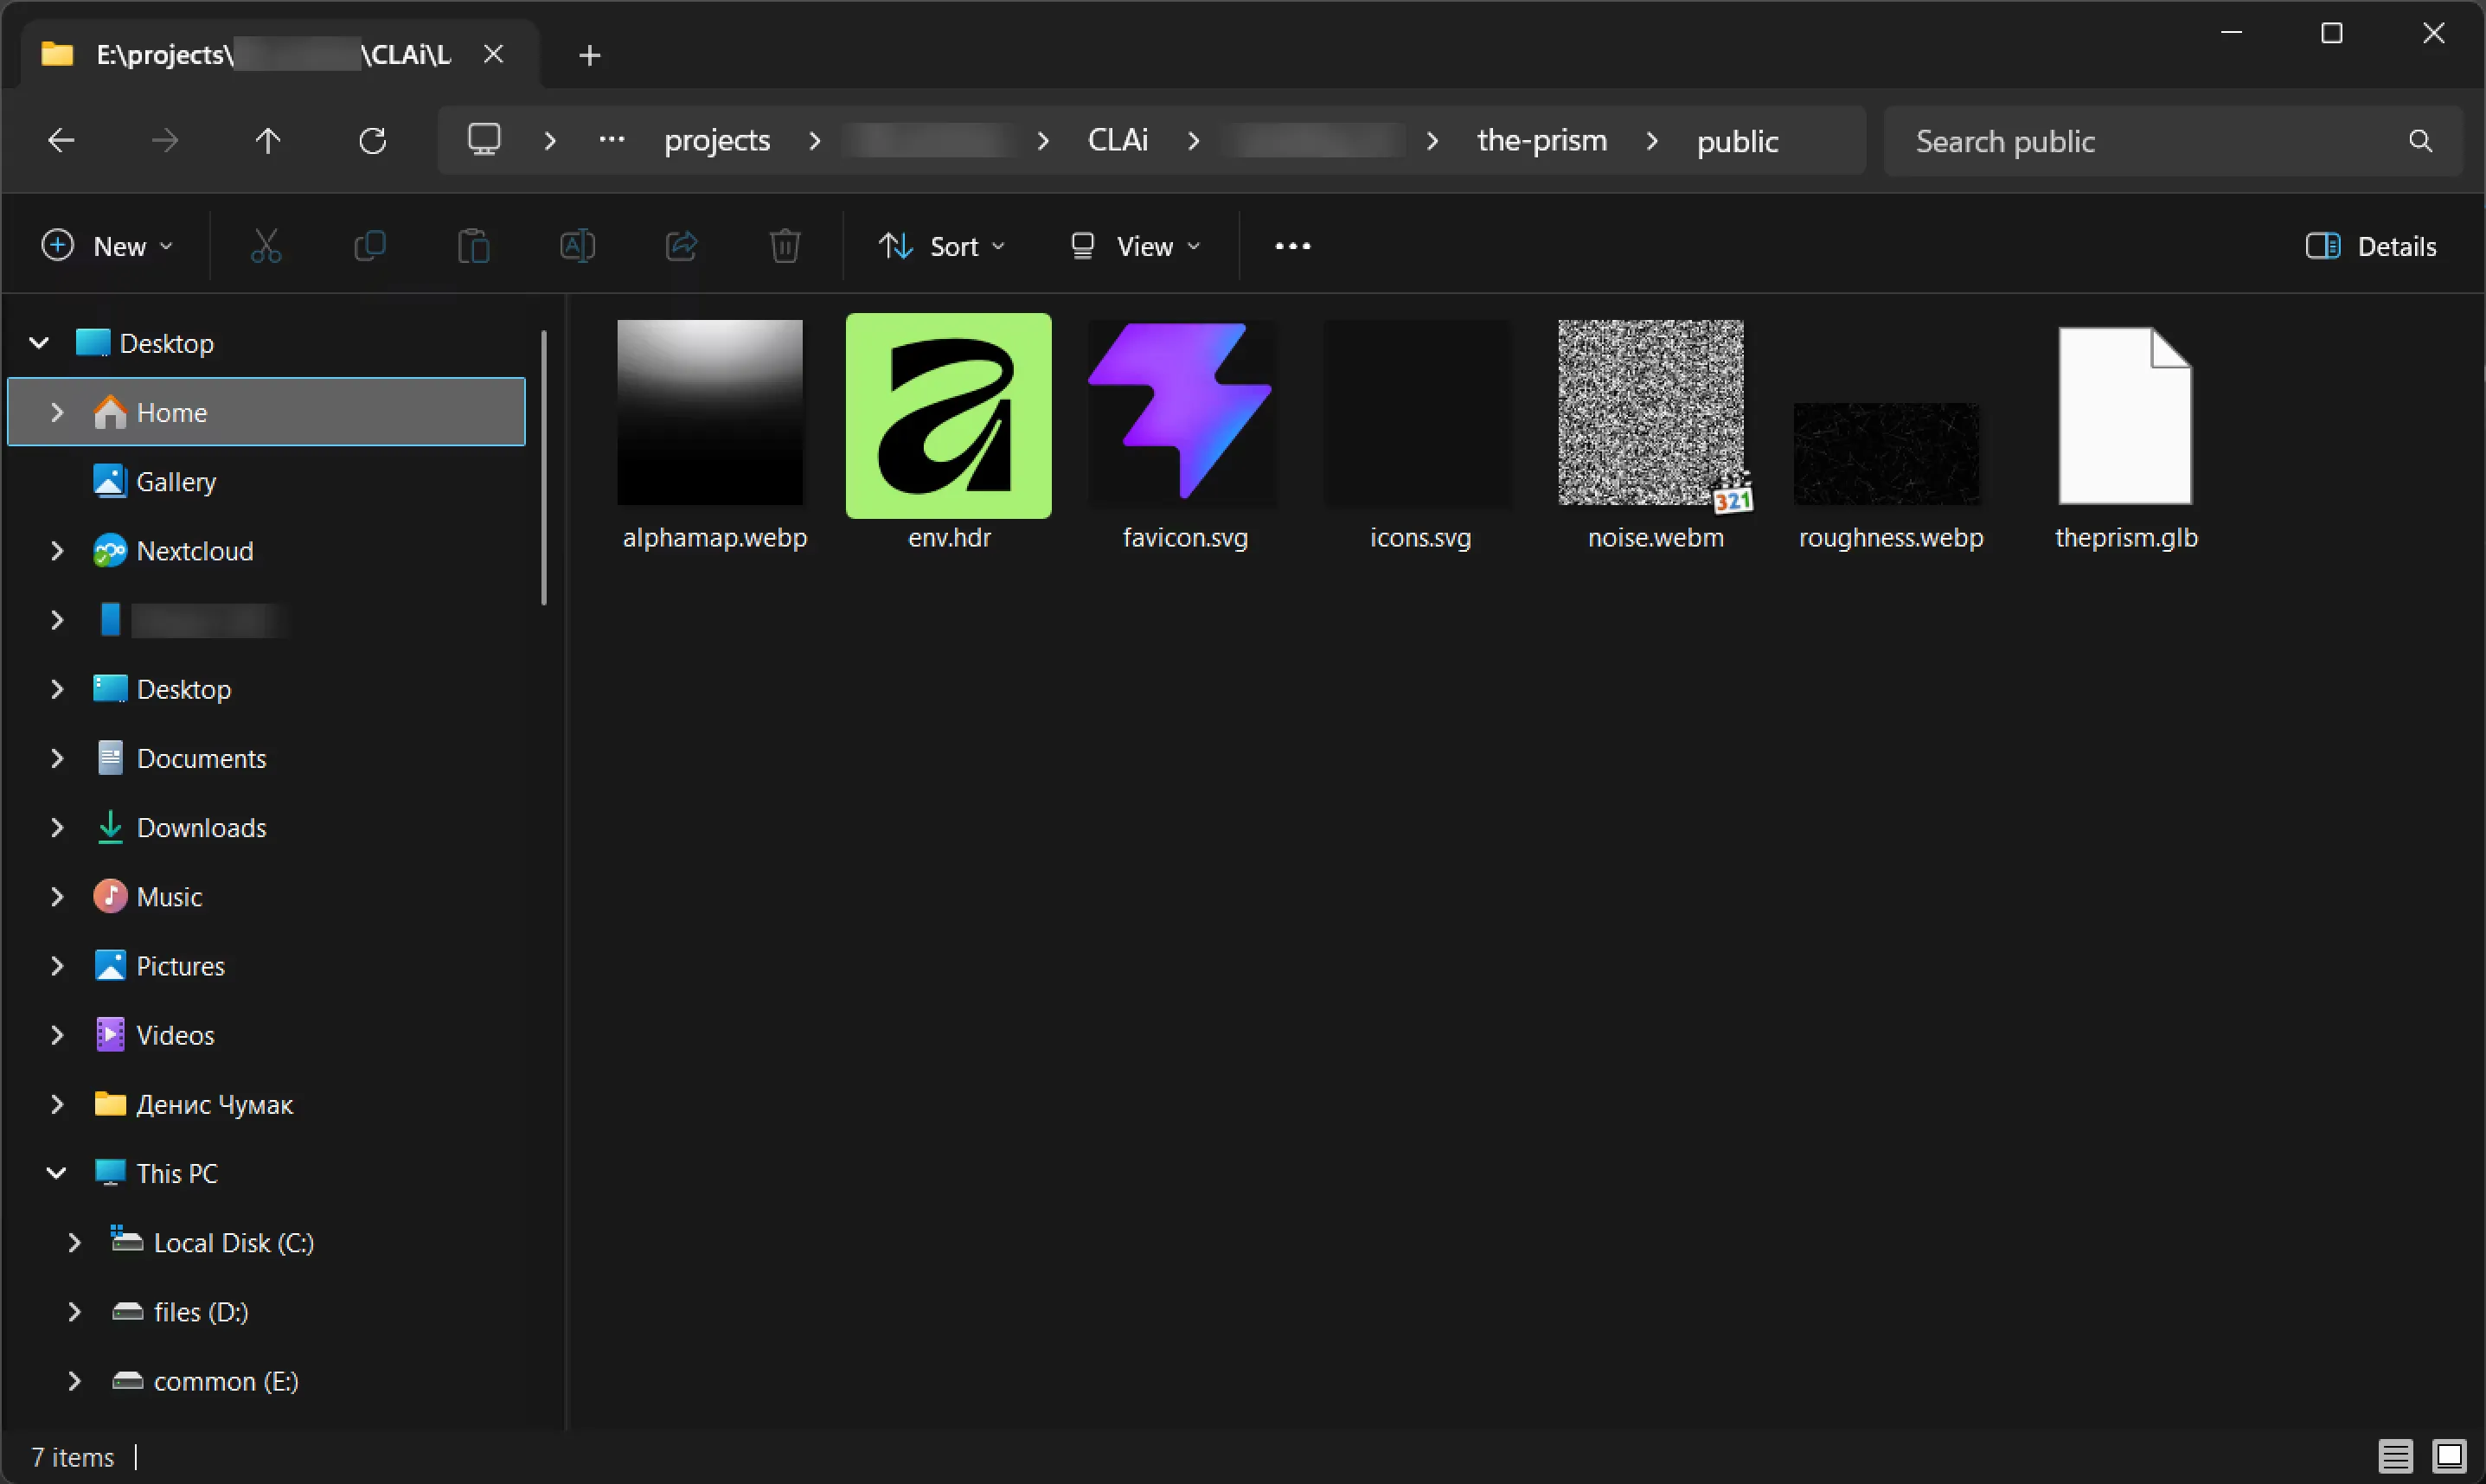
Once it is done, I can move the assets I prepared prior to the ‘public’ folder inside of the Vite project folder.
Initial Generation
I used Antigravity for this project. I opened the Vite/ThreeJS project folder with the Antigravity. Removed all the Vite placeholder code from the ‘main.js’, attached the ‘main.js’ file to the agent dialogue, attached the reference image and pasted the prompt I prepared in a Markdown editor, like this:
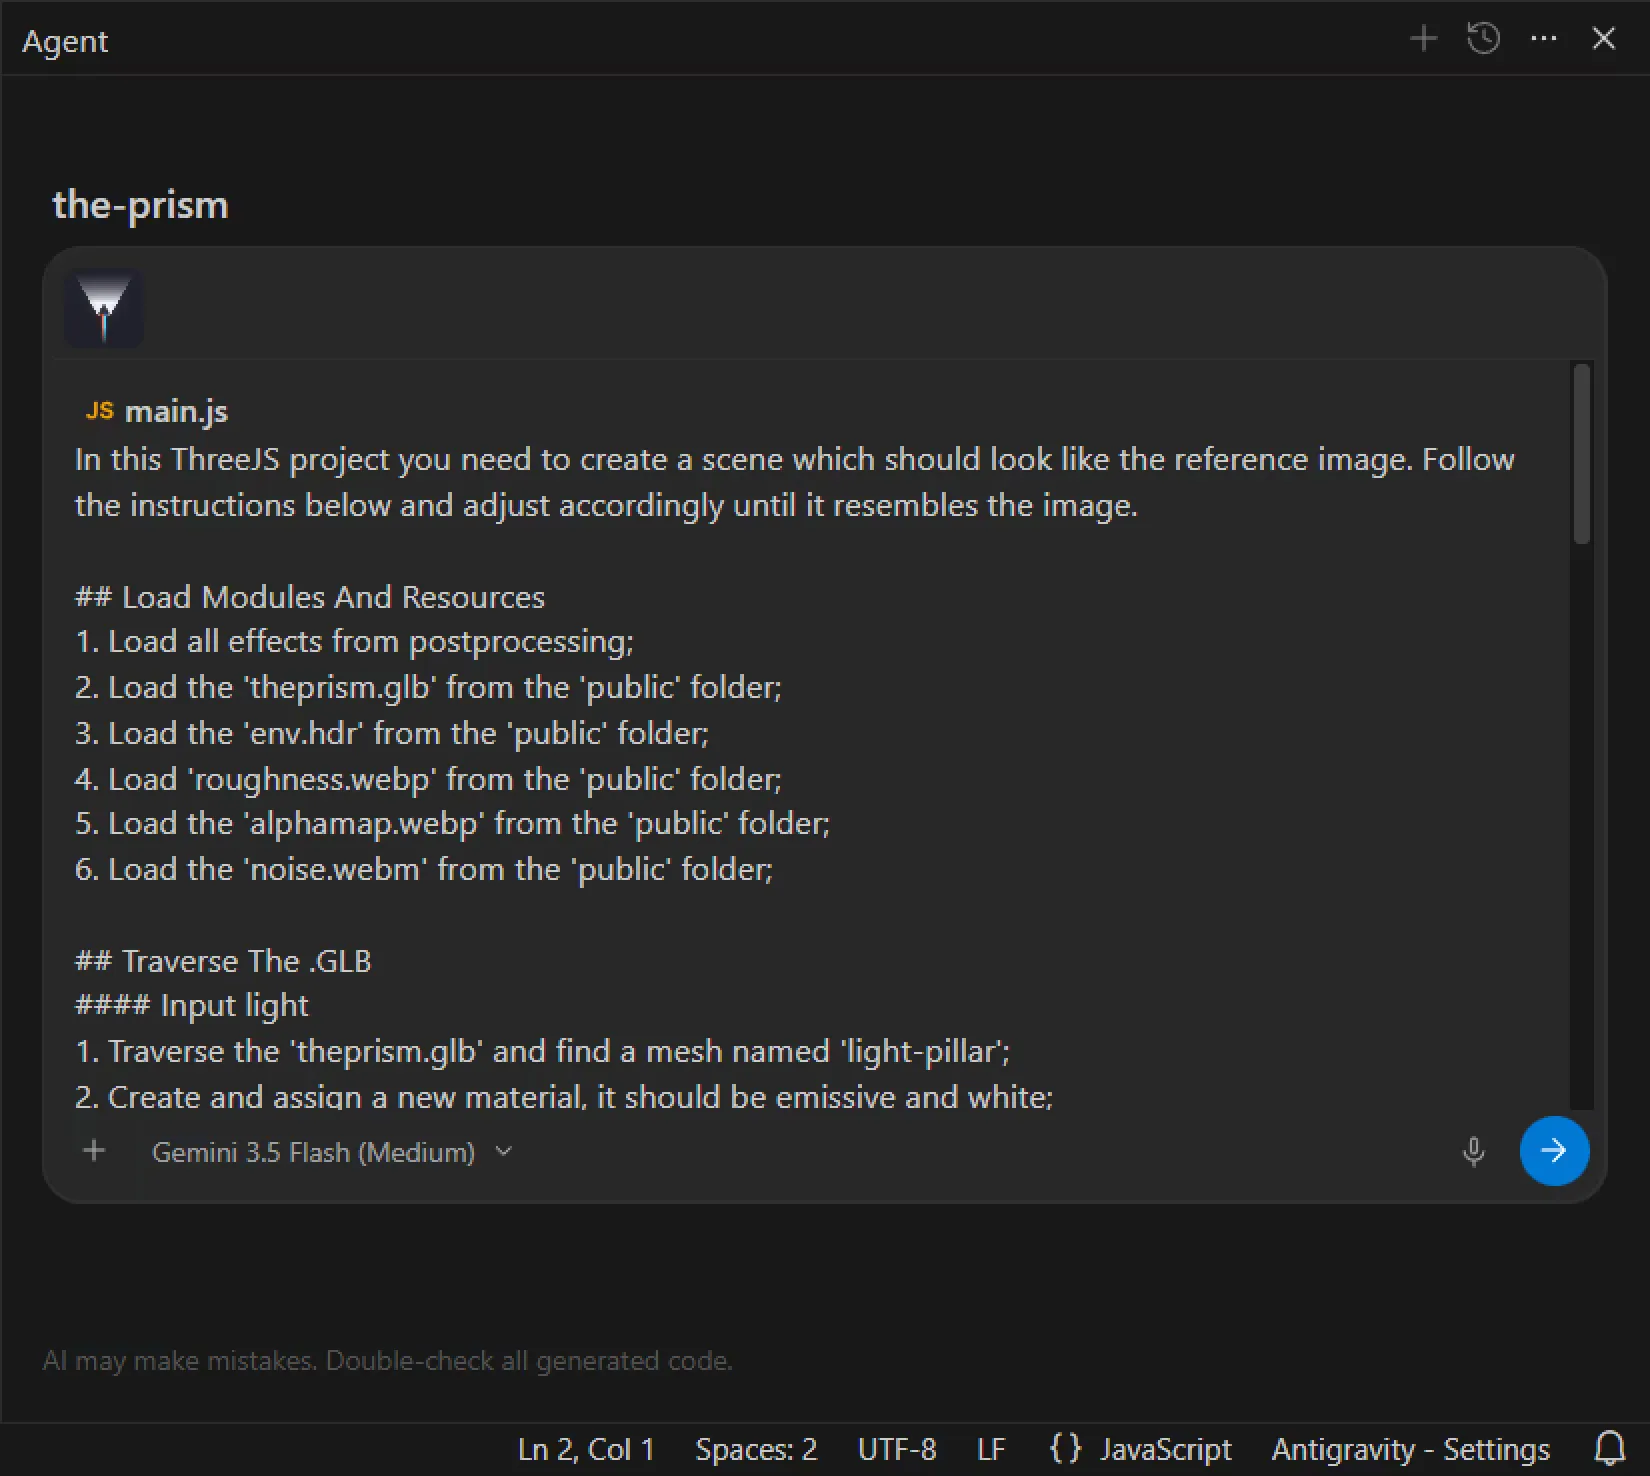
Here’s the prompt, btw. It’s huge.
In this ThreeJS project you need to create a scene which should look like the reference image. Follow the instructions below and adjust accordingly until it resembles the image.

## Load Modules And Resources

1. Load all effects from postprocessing;
2. Load the 'theprism.glb' from the 'public' folder;
3. Load the 'env.hdr' from the 'public' folder;
4. Load 'roughness.webp' from the 'public' folder;
5. Load the 'alphamap.webp' from the 'public' folder;
6. Load the 'noise.webm' from the 'public' folder;

## Traverse The .GLB

#### Input light

1. Traverse the 'theprism.glb' and find a mesh named 'light-pillar';
2. Create and assign a new material, it should be emissive and white;
3. Attach the 'noise.webm' video texture as the emissiveMap;
4. Attach the 'alphamap.webp' texture flipped vertically as thealphaMap, the object should fade-in from the top;

#### Logo Shape

1. Traverse the 'theprism.glb' and find a mesh named 'logo';
2. Create and assign a new material, it should be emissive and white;

#### Glass Prism

1. Traverse the 'theprism.glb' and find a mesh named 'prism\_simple';
2. Create and assign a new material, it should be transparent seethrough and refractive glass;
3. Attach 'roughness.webp' as the roughnessMap;
4. Make the 'env.hdr' reflect from the surfaces of this object;

#### Blue Beam

1. Traverse the 'theprism.glb' and find a mesh named 'rgbeam-b'
2. Create and assign a new material, it should be emissive and 0000FF blue
3. Attach the 'alphamap.webp' texture as thealphaMap, the object should fade out to the bottom

#### Green Beam

1. Traverse the 'theprism.glb' and find a mesh named 'rgbeam-g';
2. Create and assign a new material, it should be emissive and identical to the material of the 'rgbeam-b' mesh, but 00FF22 green
3. Attach the 'alphamap.webp' texture as thealphaMap, the object should fade out to the bottom

#### Red Beam

1. Traverse the 'theprism.glb' and find a mesh named 'rgbeam-r'
2. Create and assign a new material, it should be emissive and identical to the material of the 'rgbeam-b' mesh, but FF0000 red;
3. Attach the 'alphamap.webp' texture as thealphaMap, the object should fade out to the bottom;

## Effects

1. Create GodRays effect from postprocessing make it dense but light, with visible decay, but half the resolution and attach it to the 'light-pillar' object with the ffffff color;
2. Create GodRays effect from postprocessing make it dense and thick, with visible decay, but half the resolution and attach it to the 'rgbeam-b' object with the 0000FF color;
3. Create GodRays effect from postprocessing make it dense and thick, with visible decay, but half the resolution and attach it to the 'rgbeam-g' object with the 00FF22 color;
4. Create GodRays effect from postprocessing make it dense and thick, with visible decay, but half the resolution and attach it to the 'rgbeam-r' object with the FF0000 color;

## Animations

1. Add camera 2 degree lerping across X and Y axes on mouse movement;
2. Make the video texture declared from the 'noise.webm' infinitely moving verticaly from the top to the bottom;

## Misc

1. Purge unused postprocessing effects;
The whole operation took less than 5 minutes, and the resulting scene, while not fully matching the vision, is a good starting point.
Refinement
Observations of the initial result: alpha mapping textures didn’t work as intended, it might be because agents assume that all textures should be tiled, which is actually good, but not the case this time. Also the video texture is not properly visible, and instead of noise, a chaotic flickering of entire mesh can be observed. This is probably because the tile size for the video texture is too high. Also the god rays from the downward beams are covering the prism object. I attempted to tackle this with the next prompt:
1. For videoTexture decrease the tile size 10 times.
2. For alphaMapNormal change wrapping to be clamped edge to edge
3. For alphaMapFlipped change wrapping to be clamped edge to edge
4. Make the 'prism\_simple' object load very last
After a couple of minutes of back and forth, the scene is now looking like this:
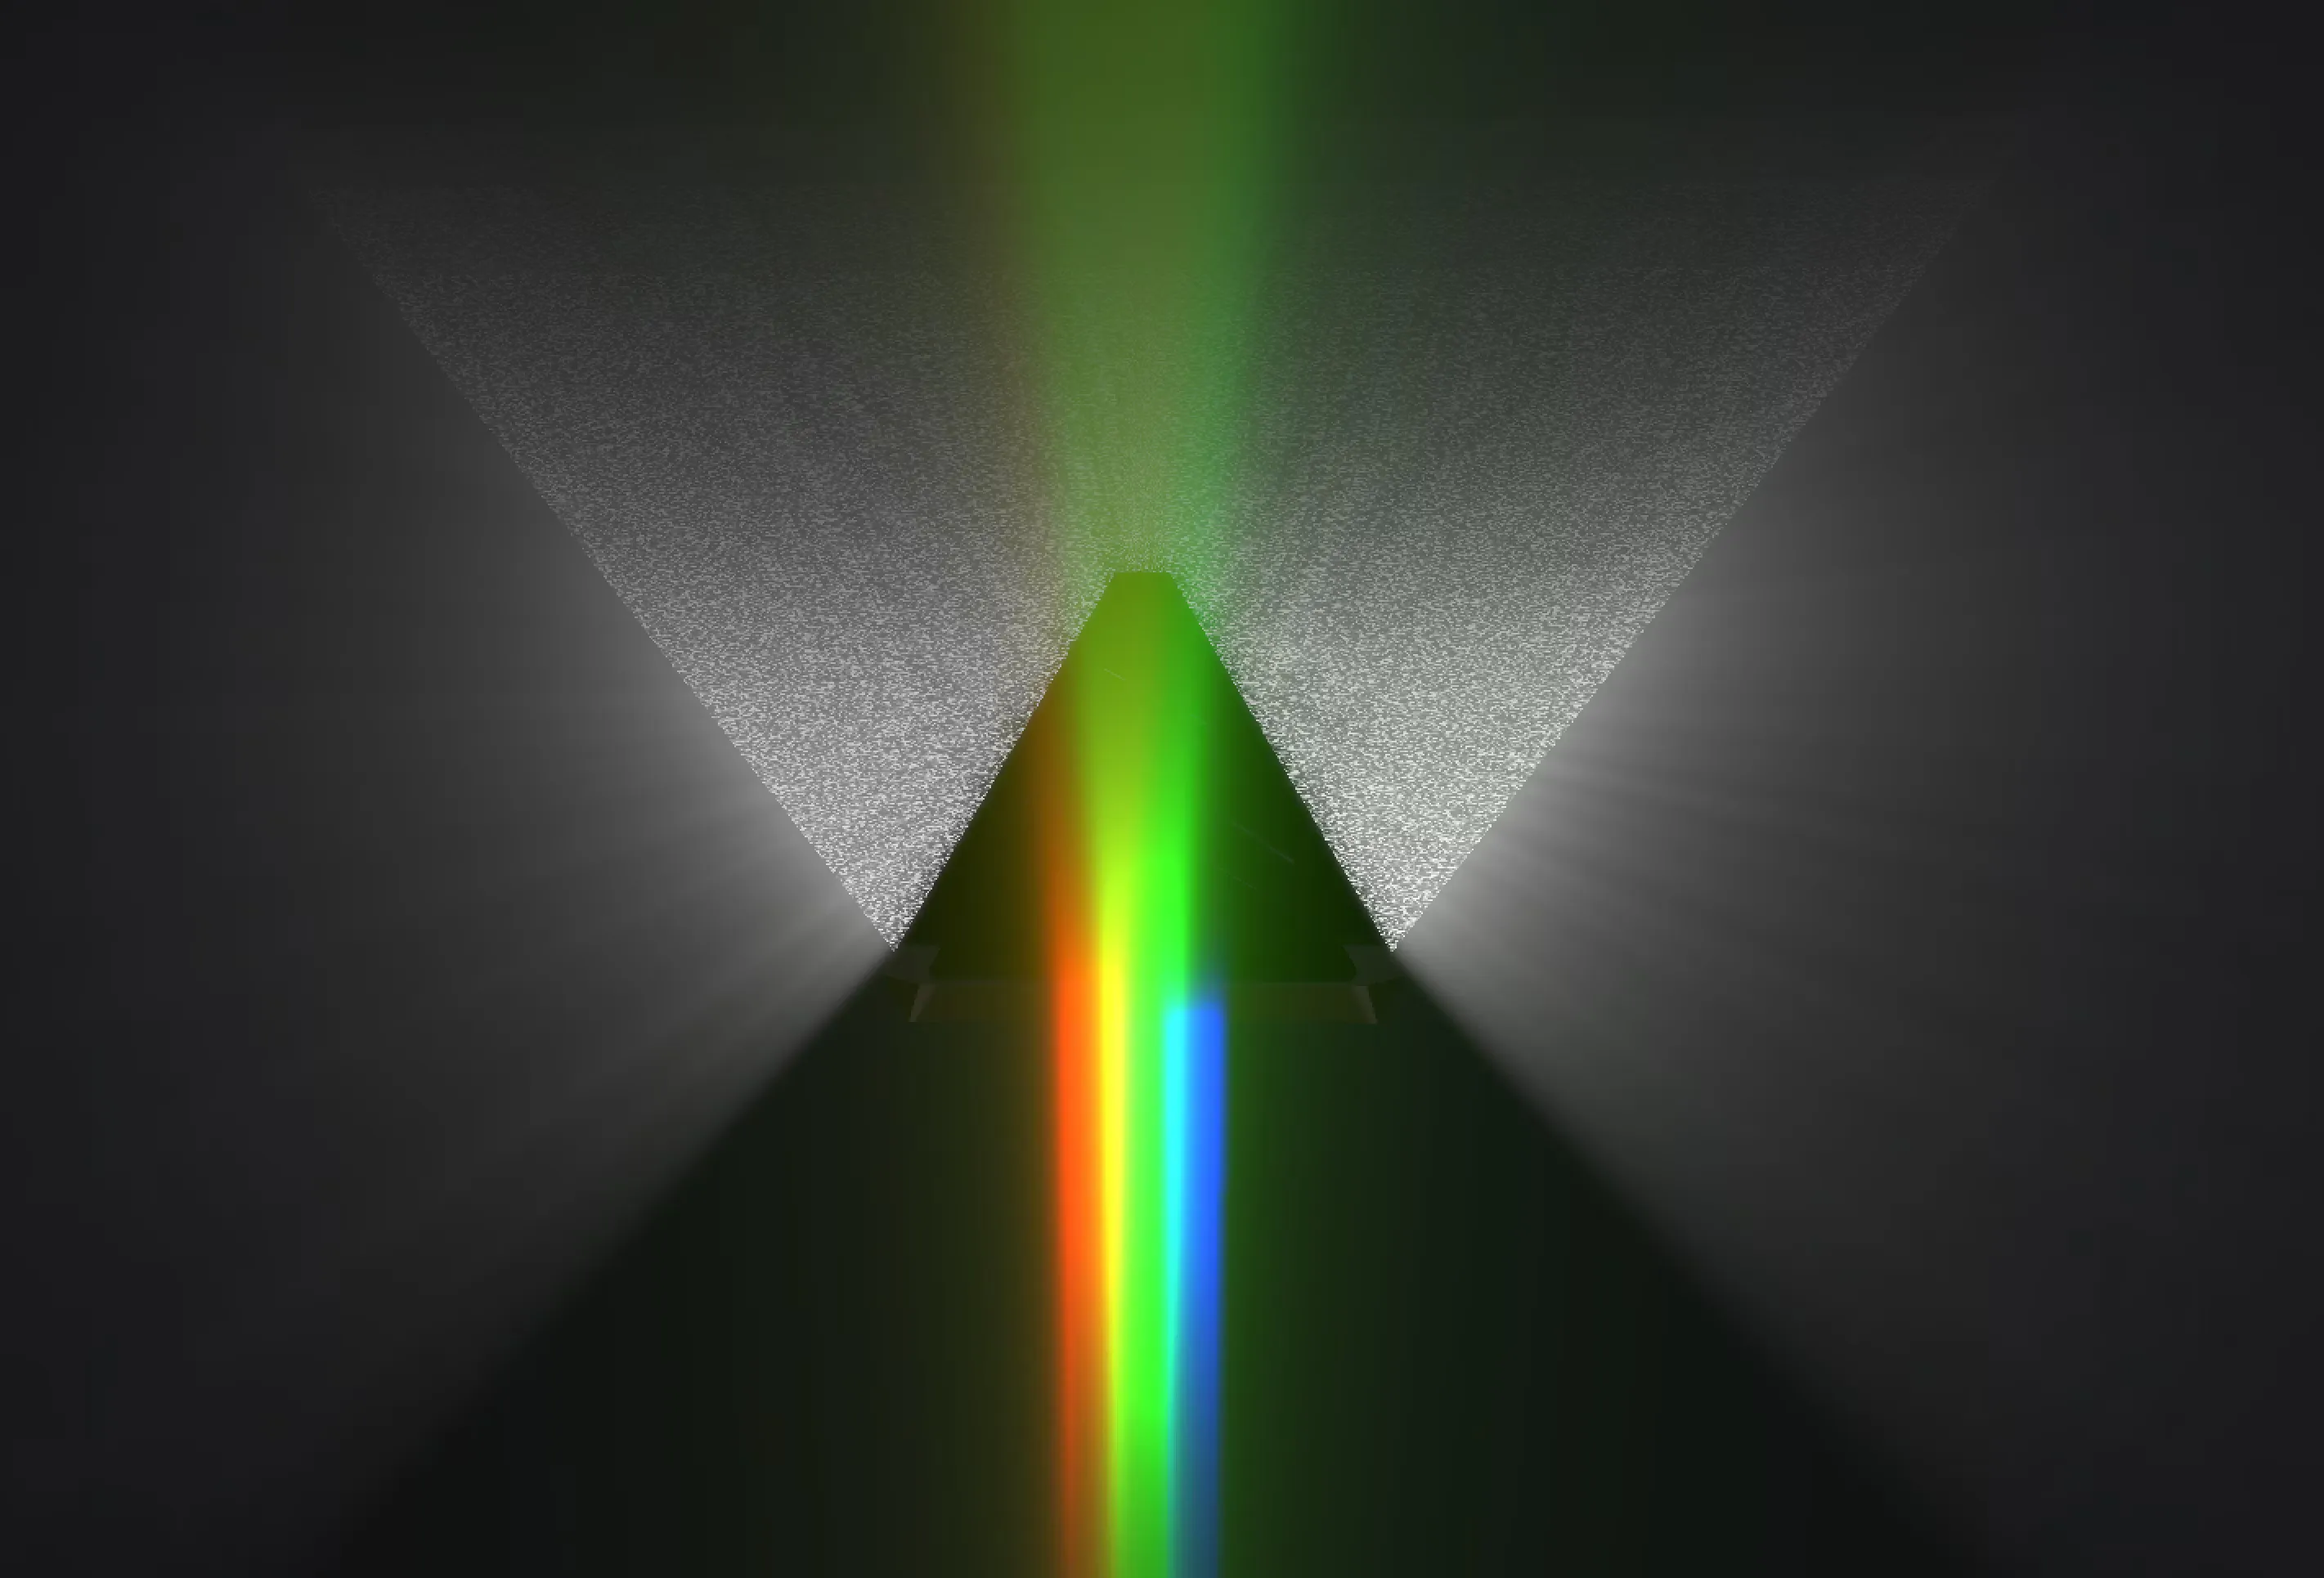
The tiling issue for video texture has been fixed, as well as texture placement for both the upper light cone mesh and the downward beams meshes. However, several issues still persist. Like the prism object is being obscured by the halo of the god rays effect from the downward beams. Asking for the solutions in a chat with Gemini, revealed that in ThreeJS assigning different objects to different layers of the rendering pipeline is possible. As well, let’s add a subtle rotation of the prism mesh triggered by mouse cursor position.
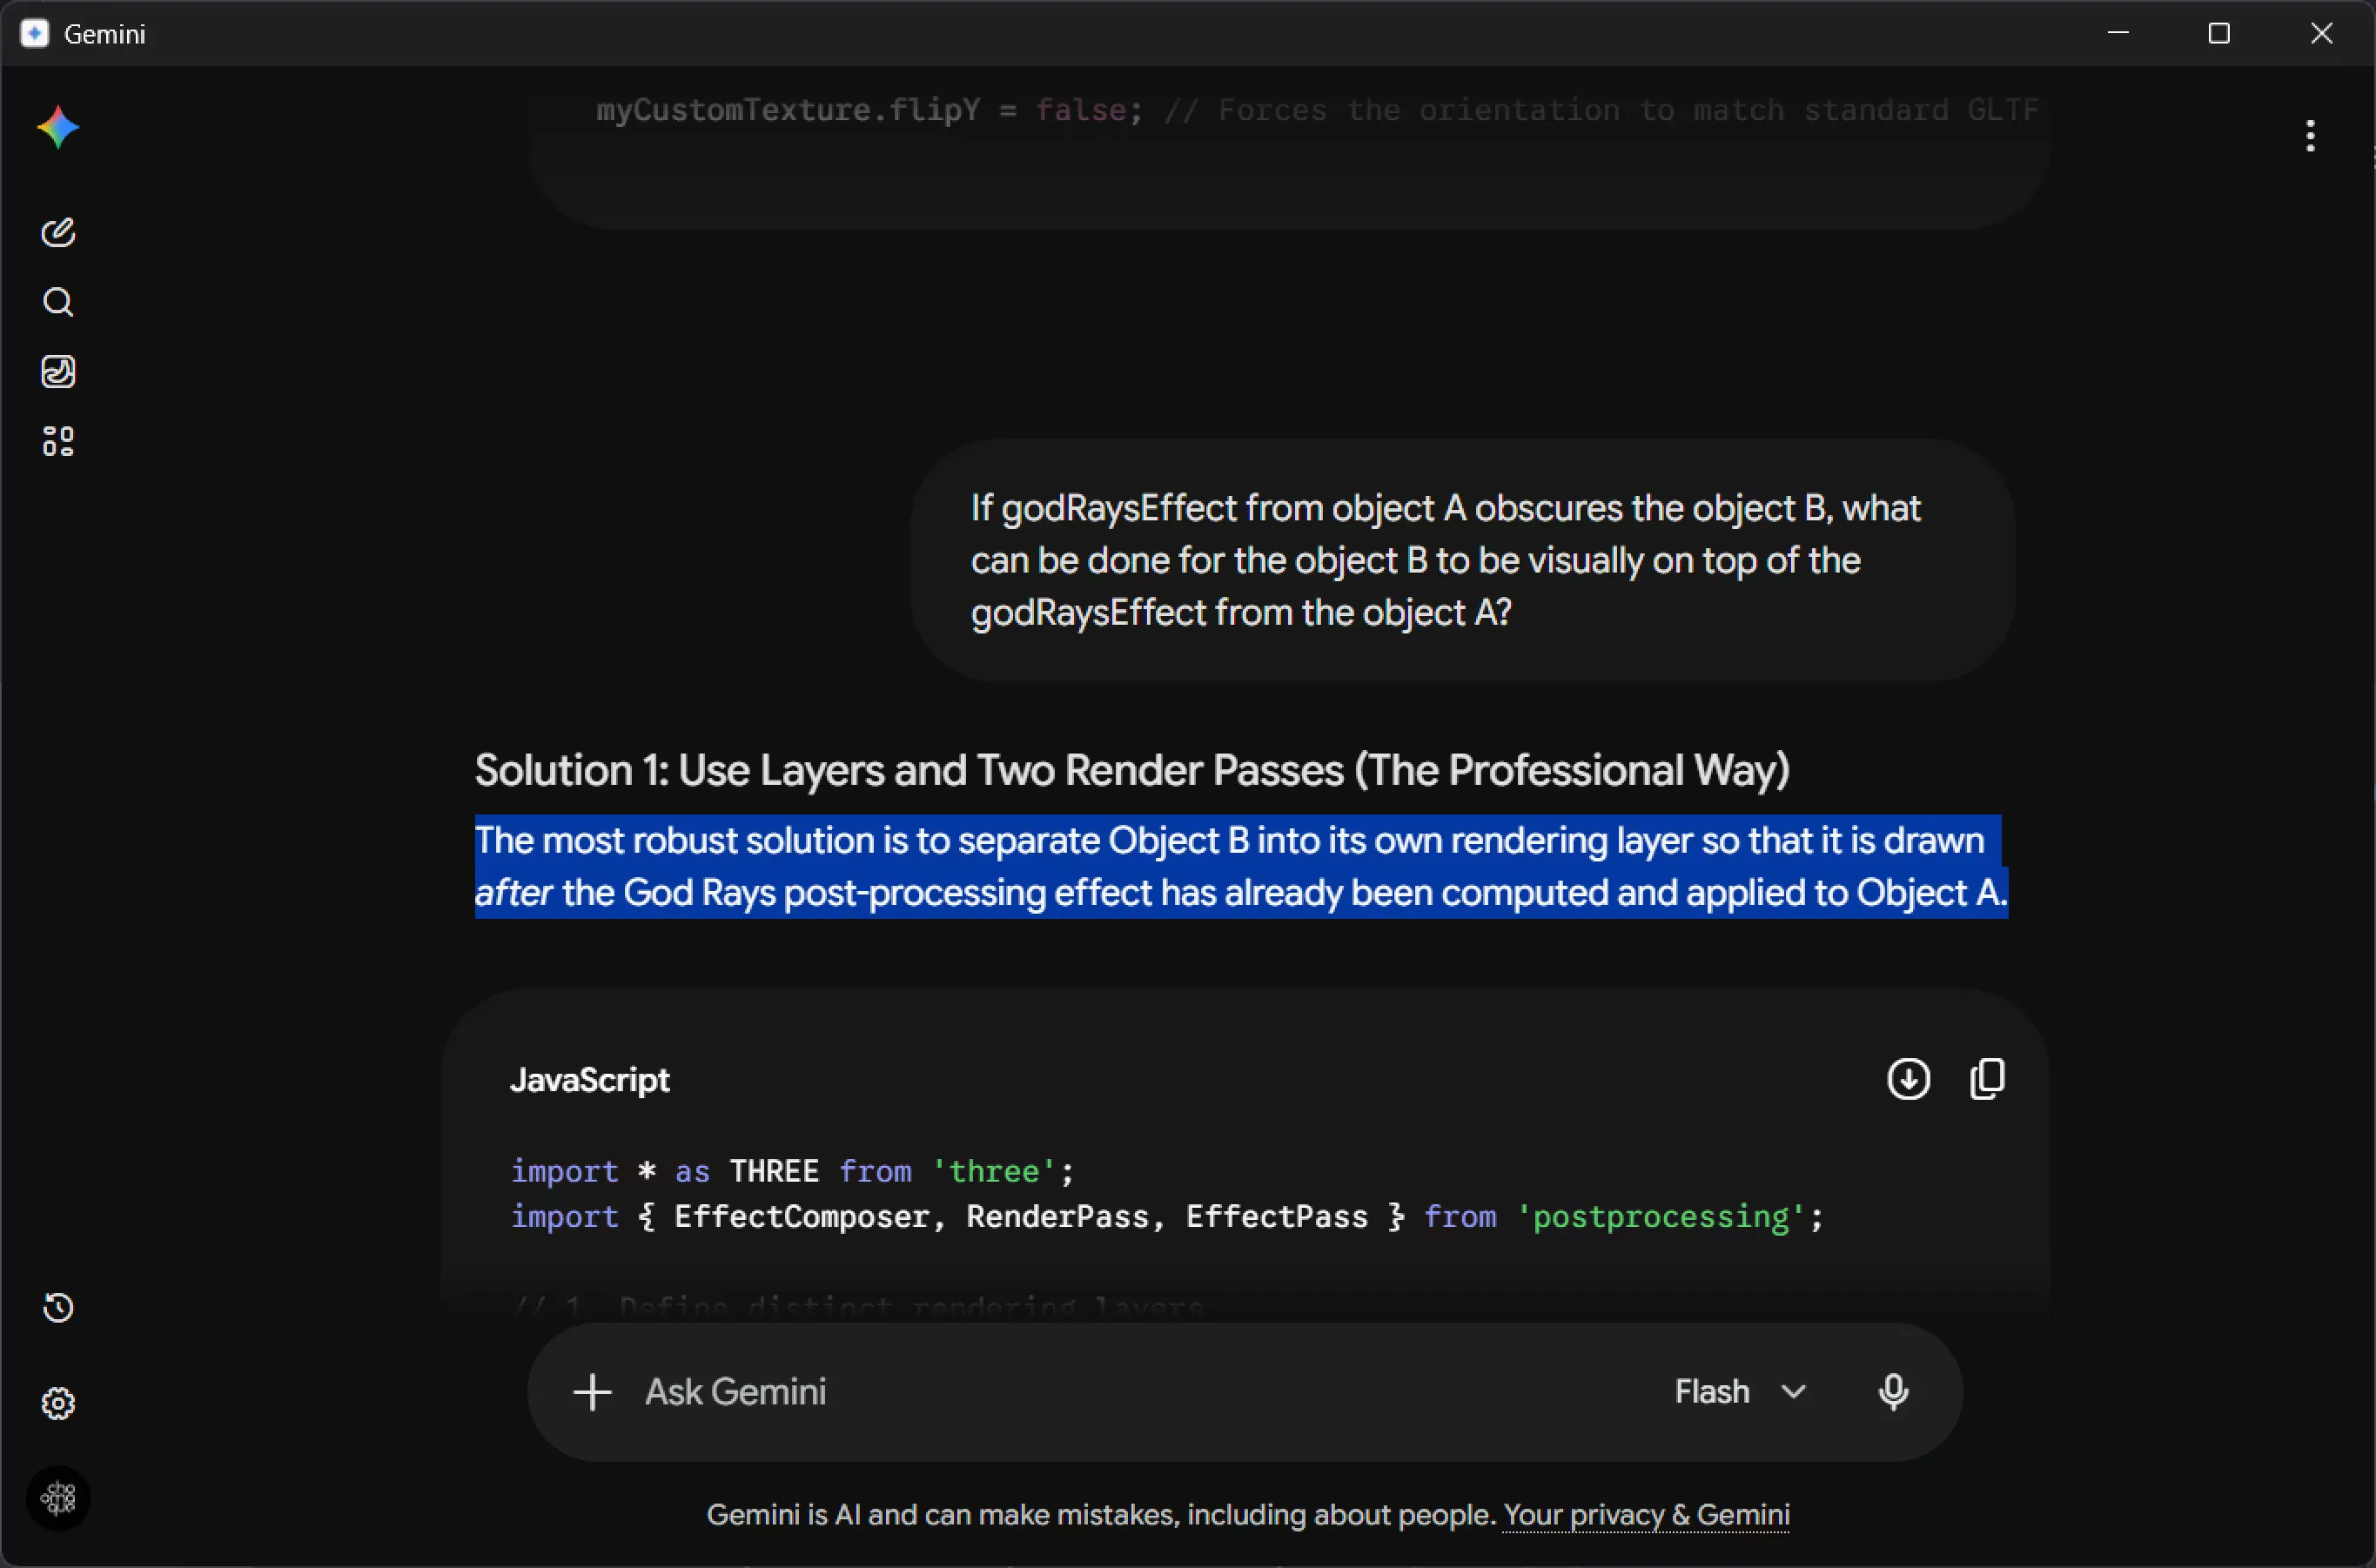
Let’s ask the agent to do exactly that.
1. For 'prism_simple' object create a new rendering layer and make it a foreground layer;
2. For every other object in the scene that is not 'prism_simple' create a new rendering layer and make it a background layer;
3. Make foreground layer render pass go after the background layer and "in front of it" like it has a higher z-indexD
Toning down the intensity of the god rays effects additionally to fixes I prompted the agent to do made the objects in the scene more recognizable.
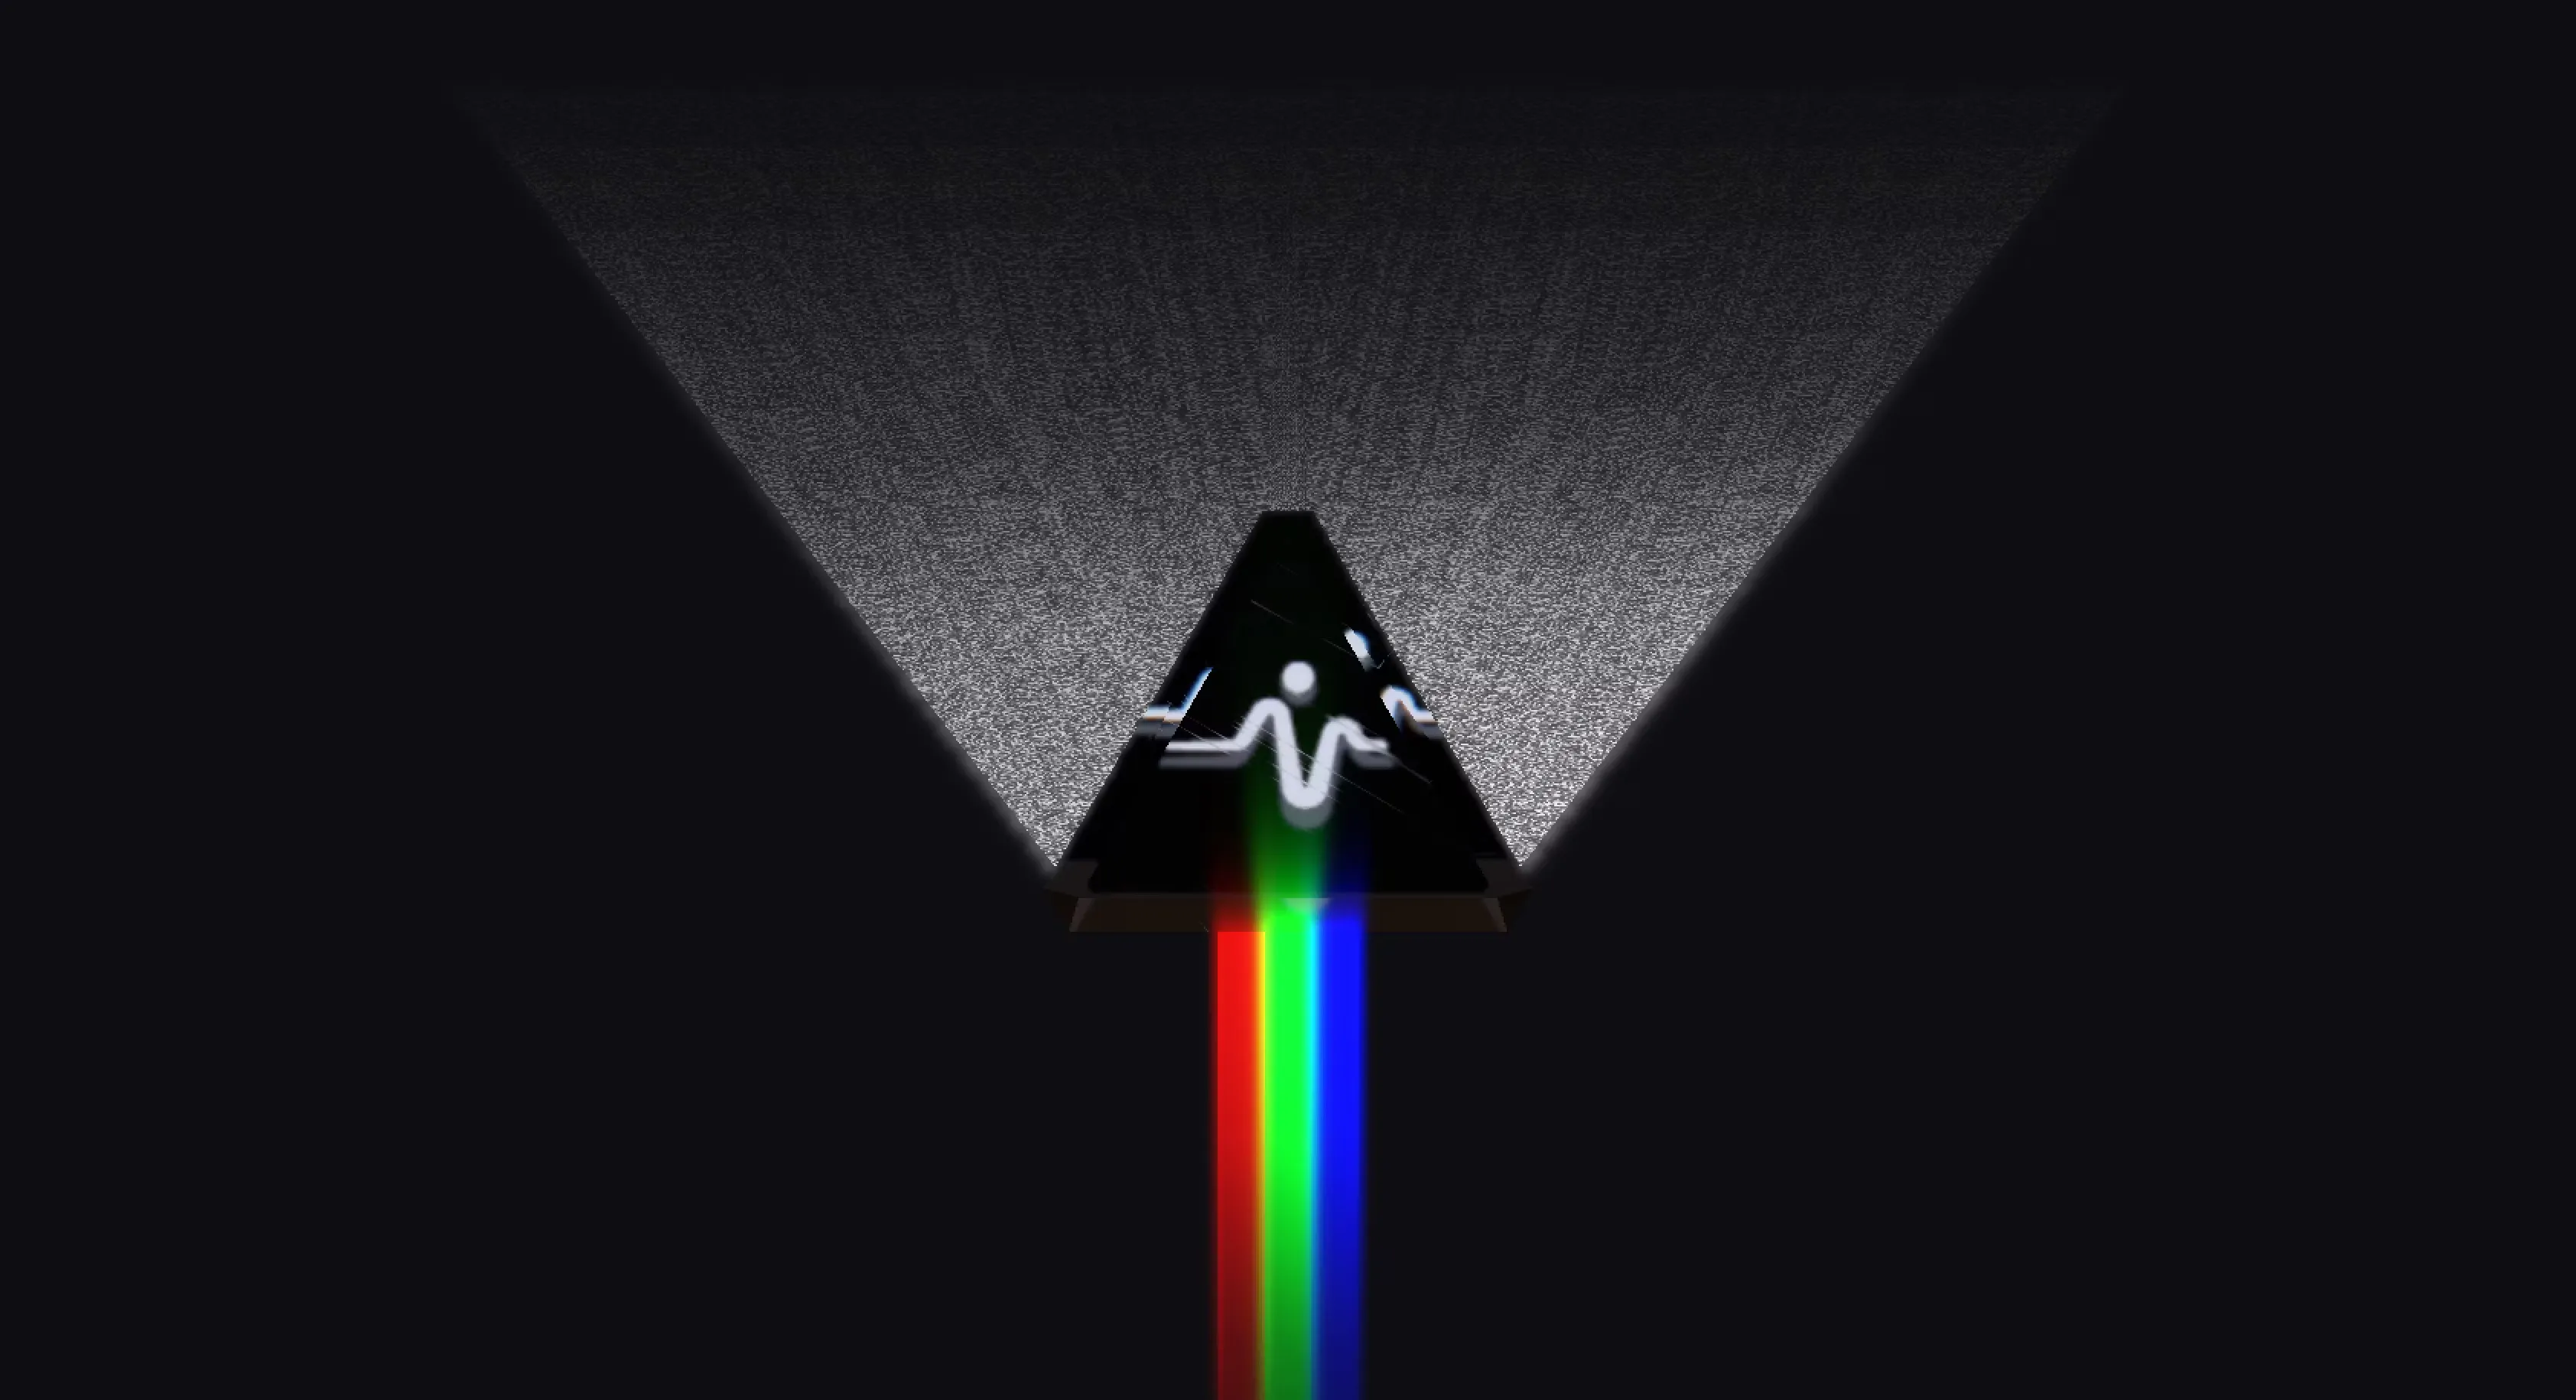
Now what is left to do is to ask the agent to add a lttle rotation for the whole scene, triggered by cursor movement.
Please make all of the objects in the attached .glb rotate across every axis as a singular object, following the cursor.As well as adjusting the camera zoom a bit, like this
camera.position.set(0, -0.1, 5.5);The end result is now looking like this:
Some Notes
As you can see making ThreeJS scenes that follow the reference image is quite possible with agentic coding. Although it is, as any agentic coding task, can burn through tokens relatively quickly: first prompt obliterates the token balance available on free plans.
Another note is that this scene is a recreation of the process for the sake of it’s better documentation and publishing on this blog. The original scene can be viewed by following this link.
To package this demo I used the Vite Single File plugin, which bundled everything into a single ‘index.html’ file, following instructions from Qwen.